Have you ever found or received a lens and been unsure what type of camera it goes to? Or maybe you’re just really into photography and camera equipment and want to fill your brain with gear knowledge. Well today we’re kicking off a mini-series on lens mounts. We will be identifying all of the major (common) lens mount types, and then some more uncommon or rare lens mounts as well. It’s a visual guide, with photos of each mount type with a short description of what kind of lens mount it is below the image.
Every mount is different- you just have to pay attention to the small details to determine what is what. Look at the contacts (or lack of), the pins, the size of the mount, the grooves, indentations, tabs, mounting dots, screw placements, serial number locations, rear elements, etc.
Lets start with Part 1: Canon, Nikon, Pentax, and Leica lenses…
 |
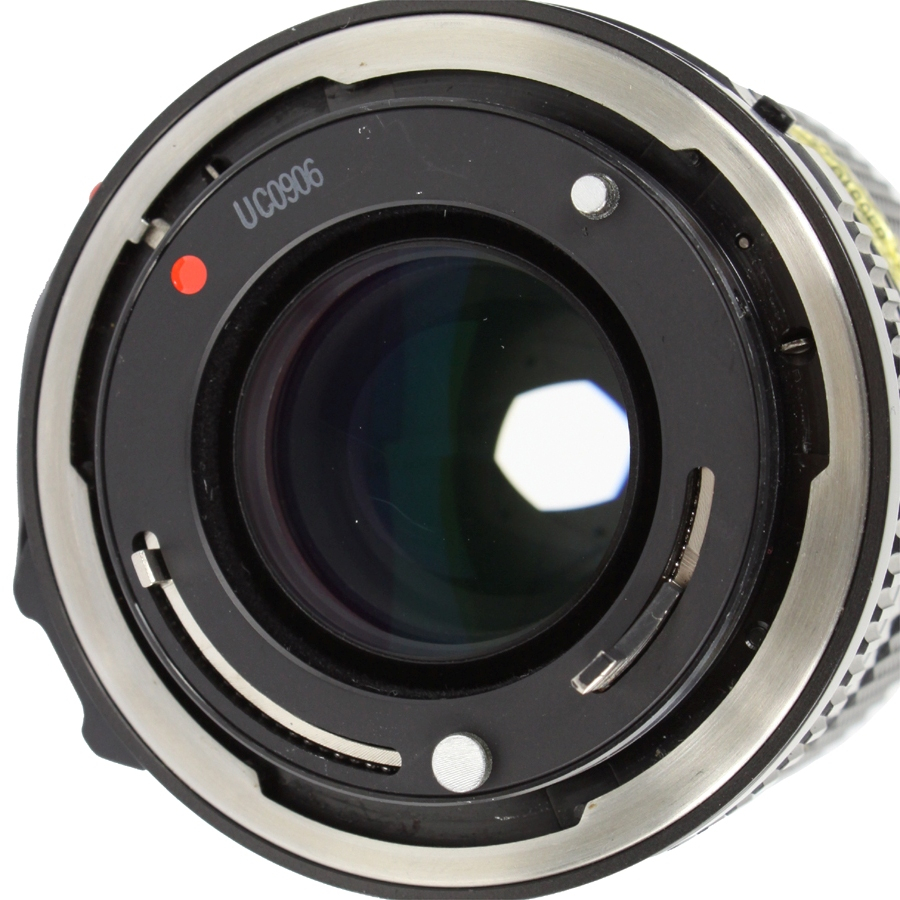
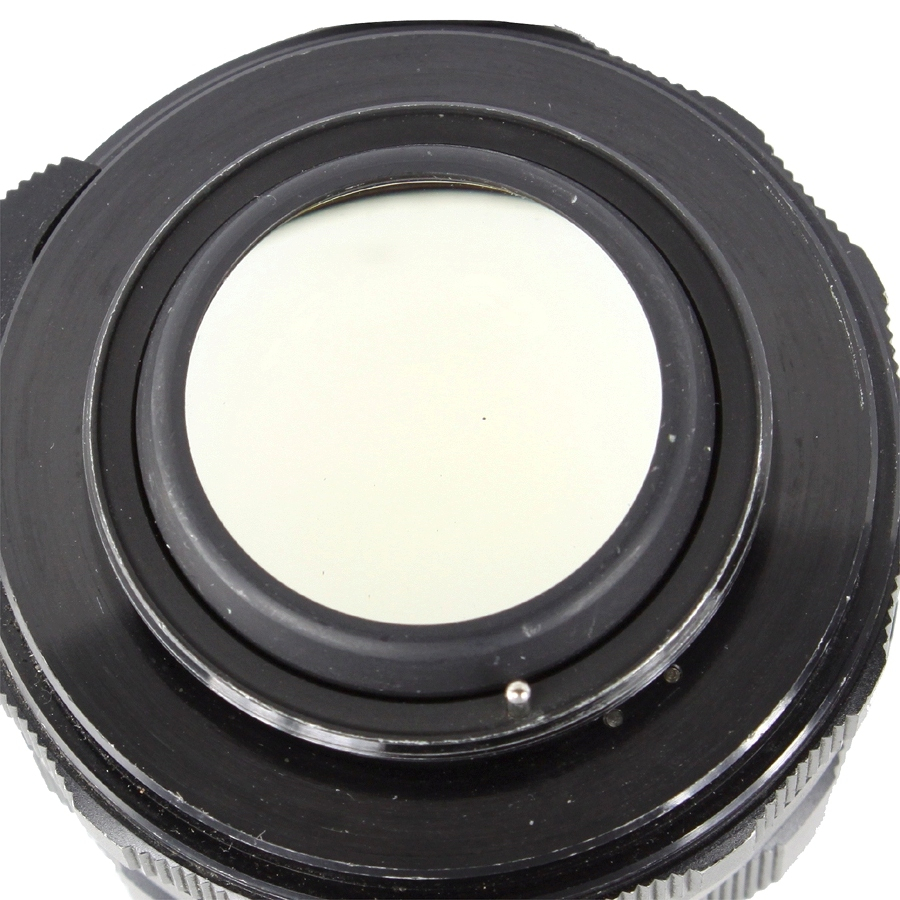
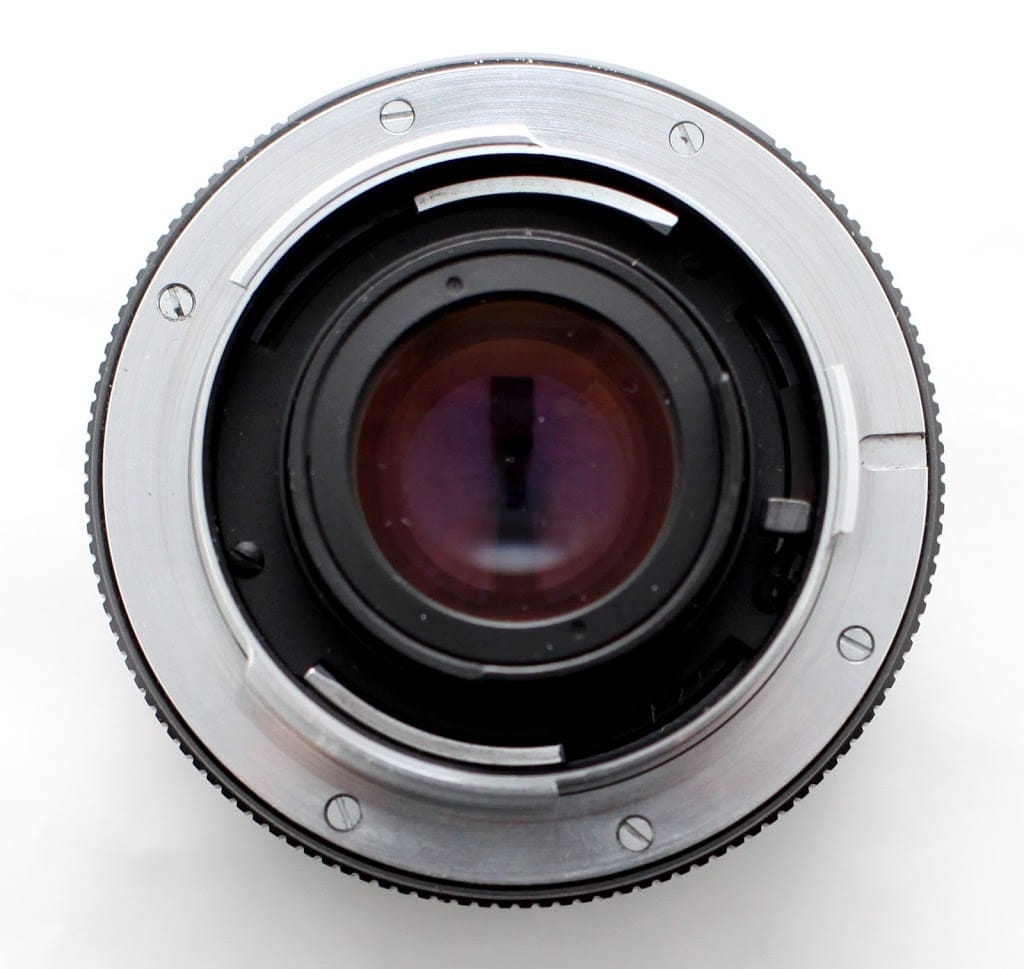
| Canon Manual Focus (FD), MF 35mm |
 |
| Canon Manual Focus (FD BL), MF 35mm |
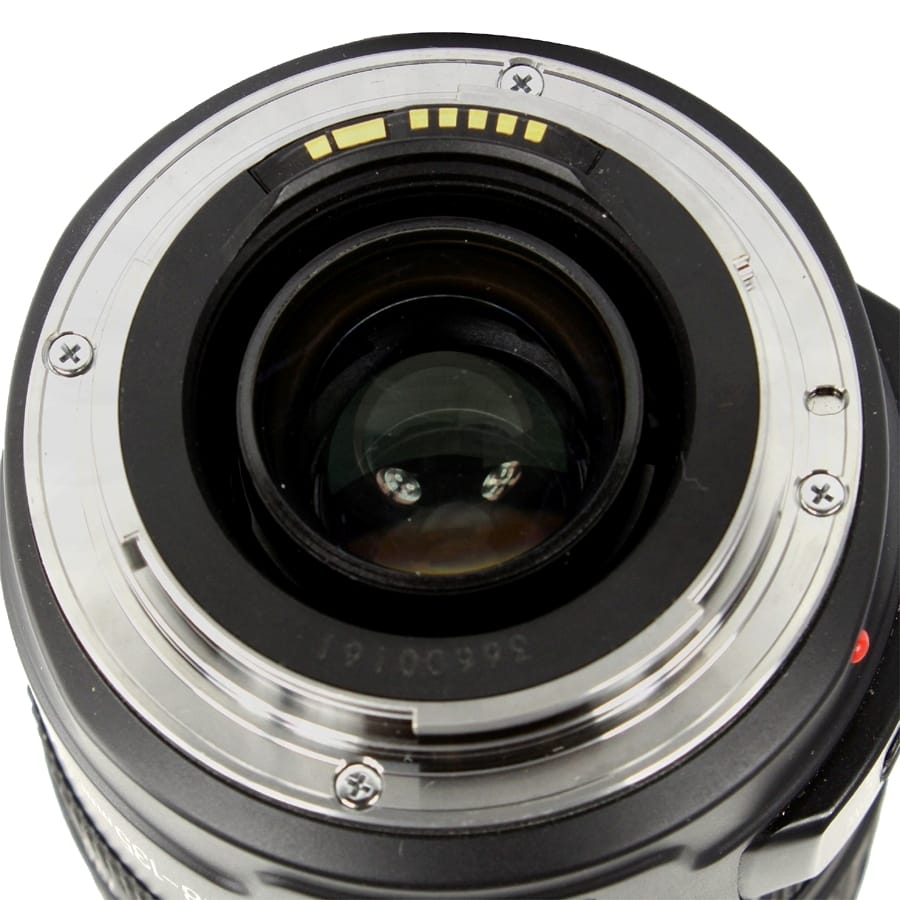 |
| Canon Auto-Focus (EOS), AF 35mm |
 |
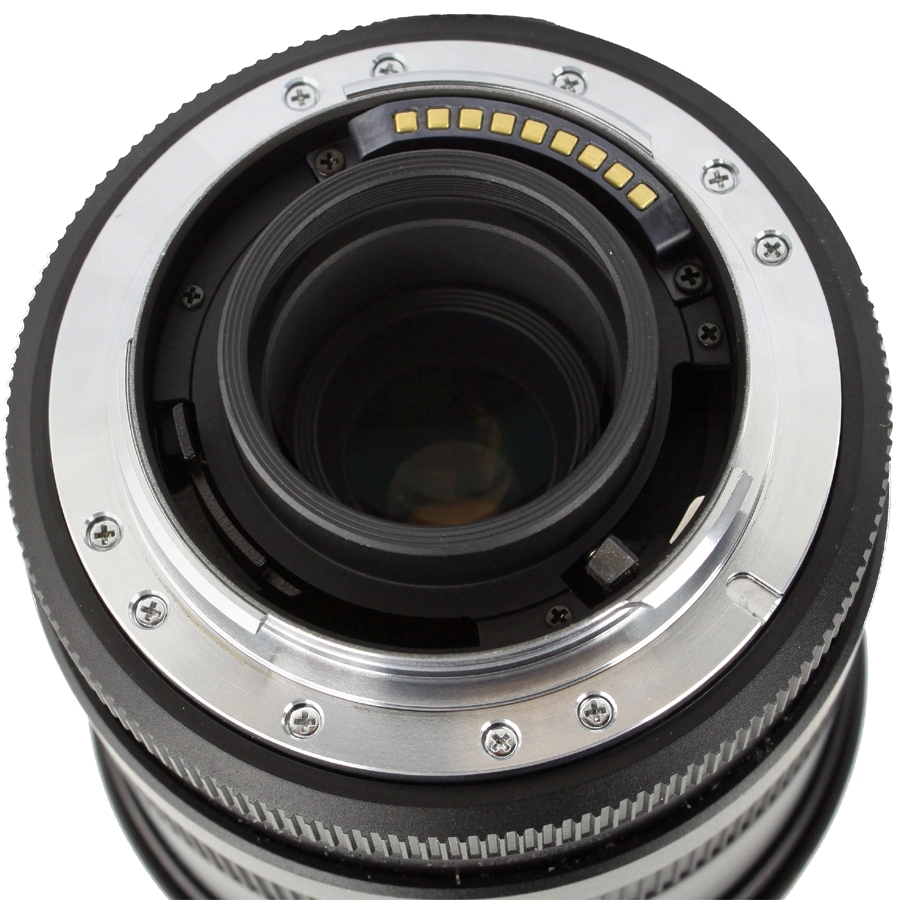
| Digital Canon (EF-S), AF D-SLR |
 |
| Canon Video, AF |
 |
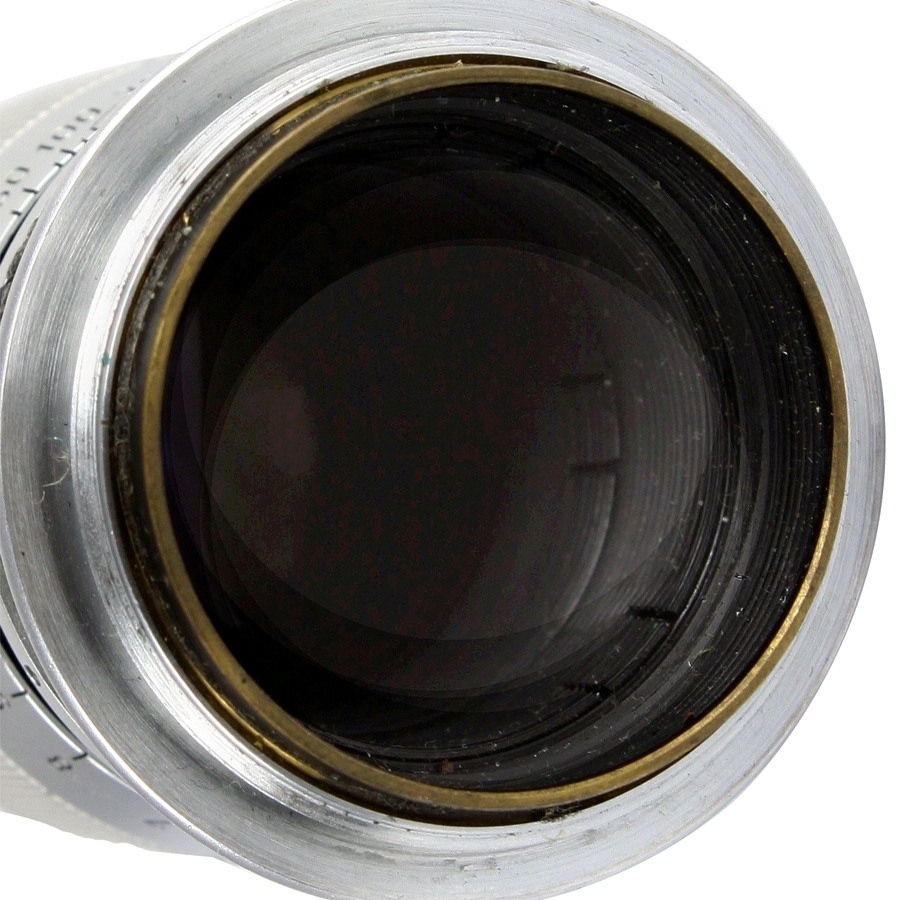
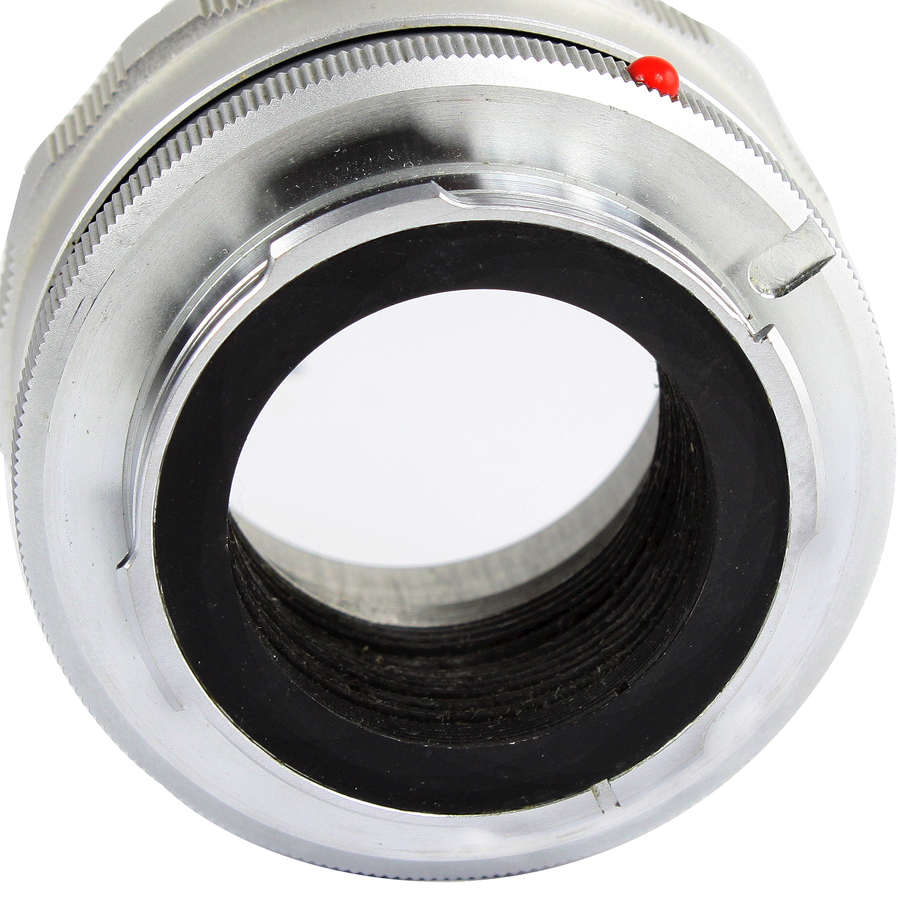
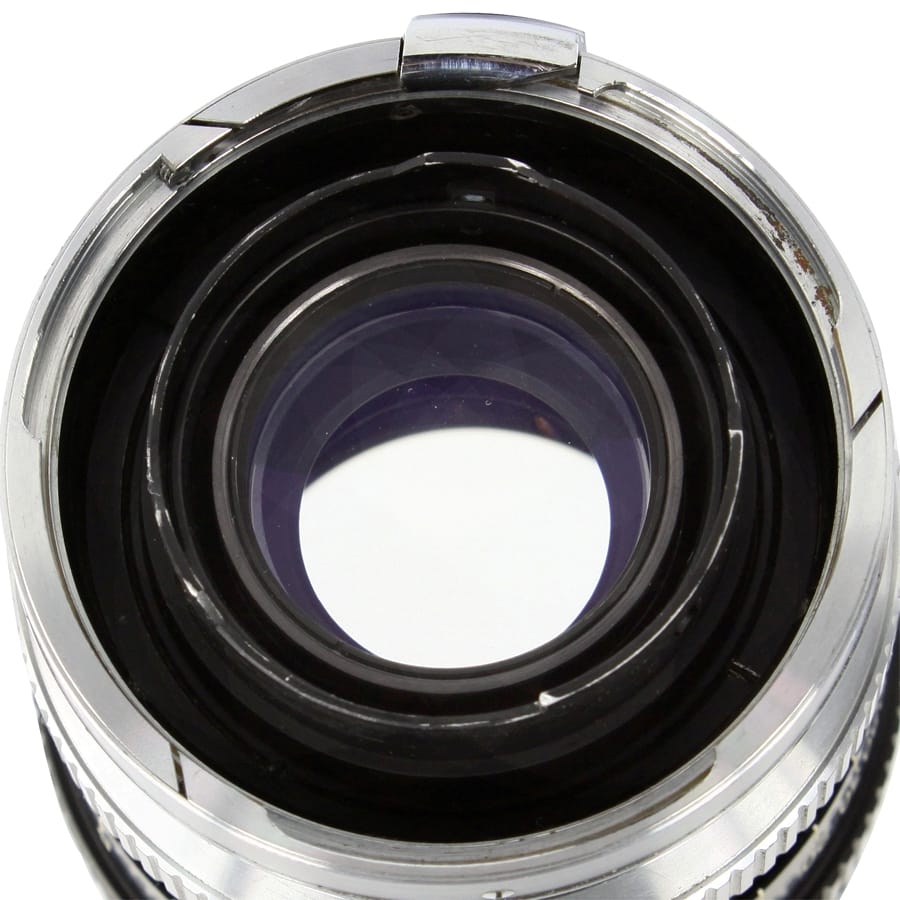
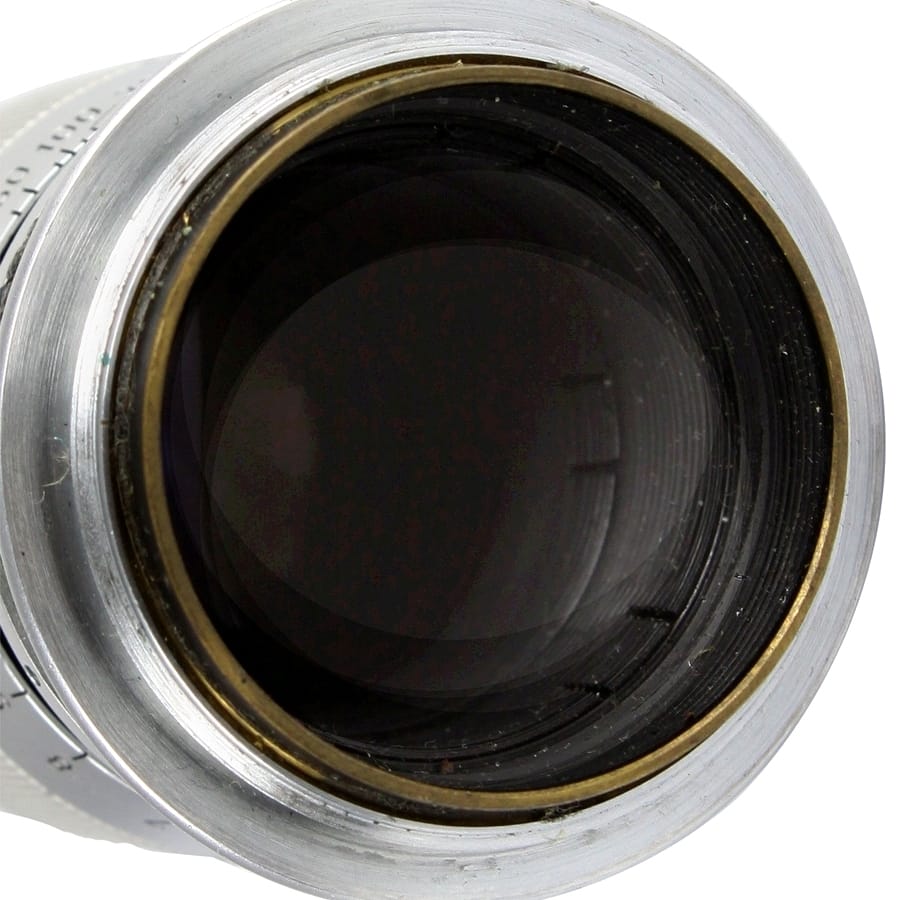
| Canon Rangefinder (screw mount), MF 35mm |
 |
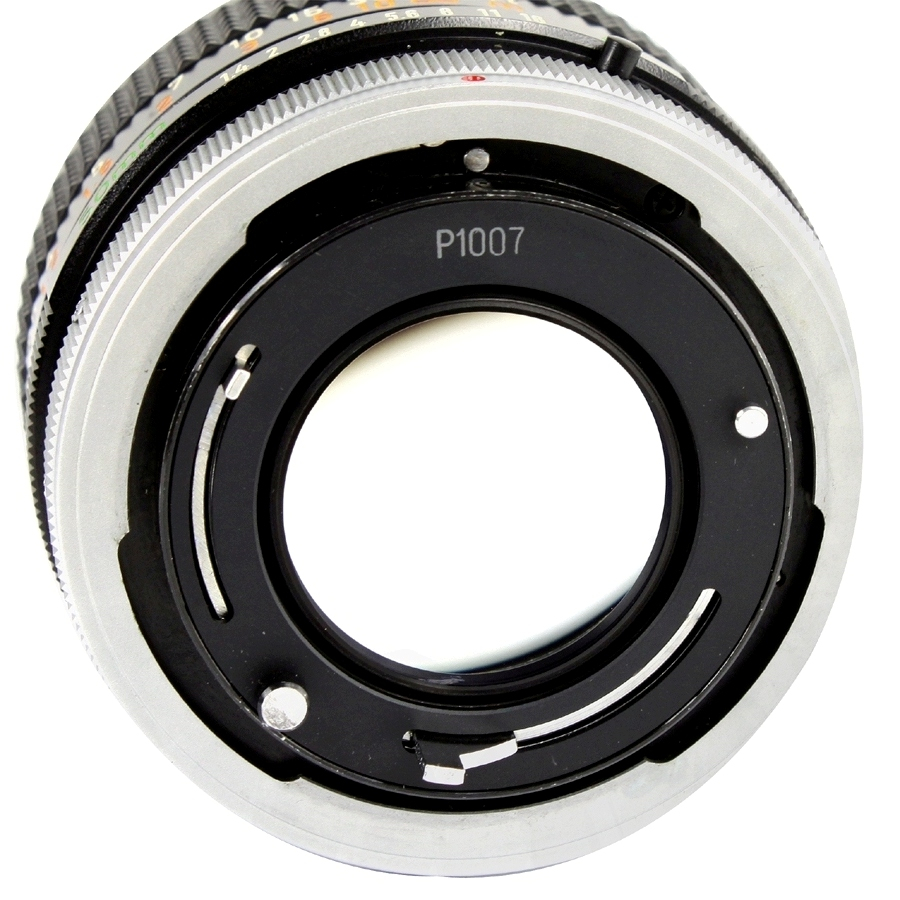
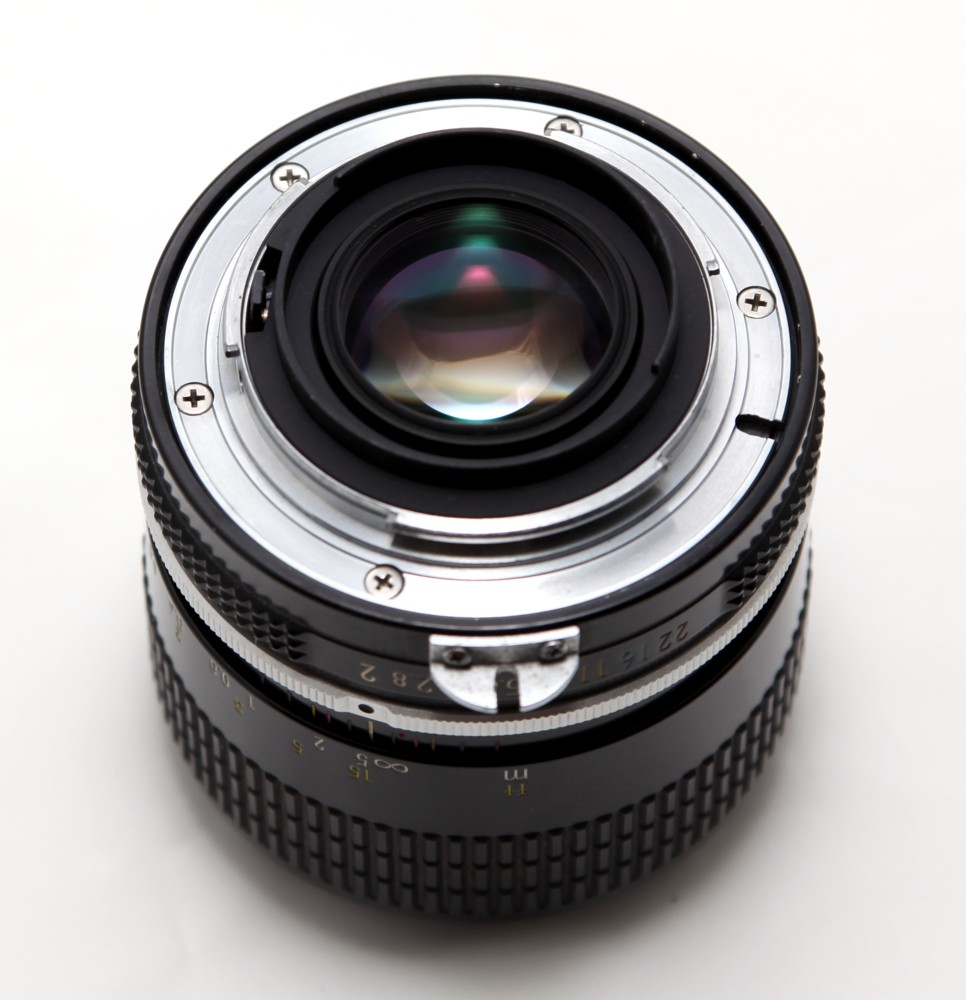
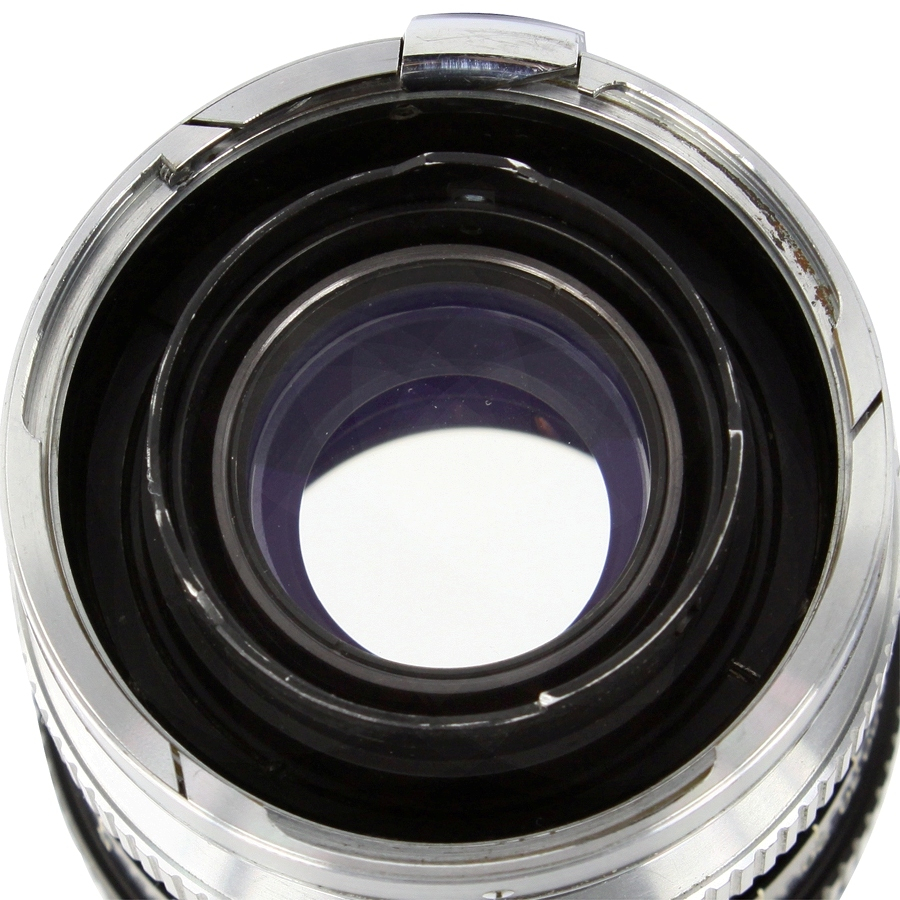
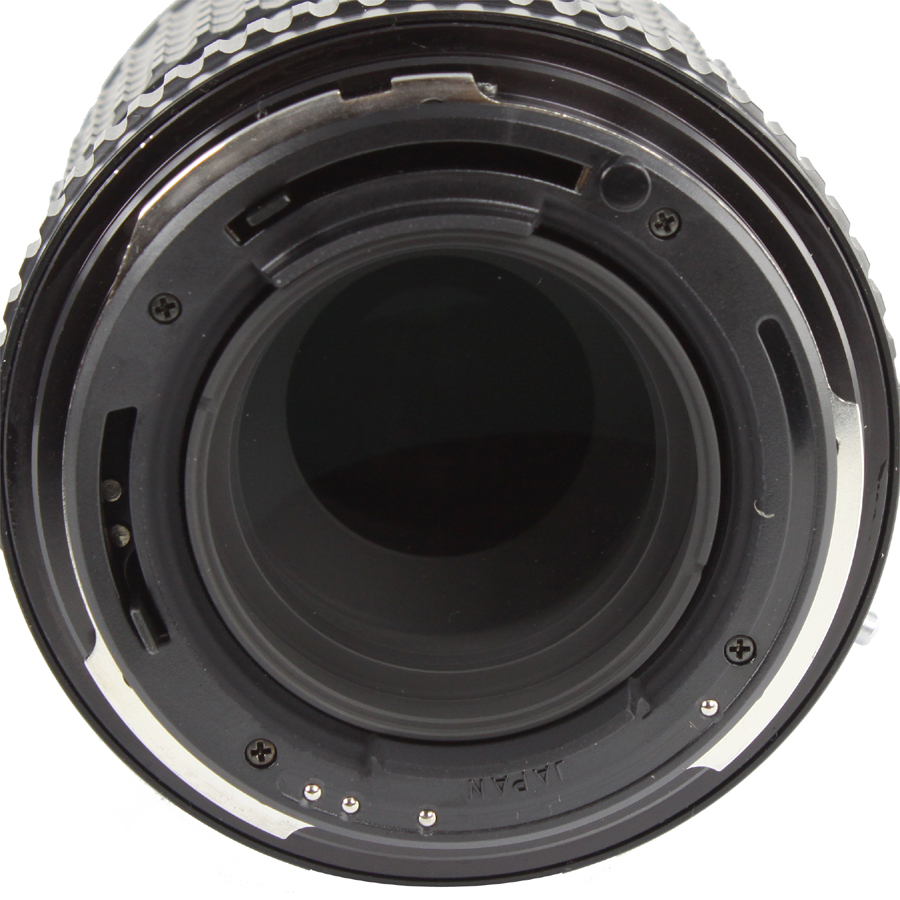
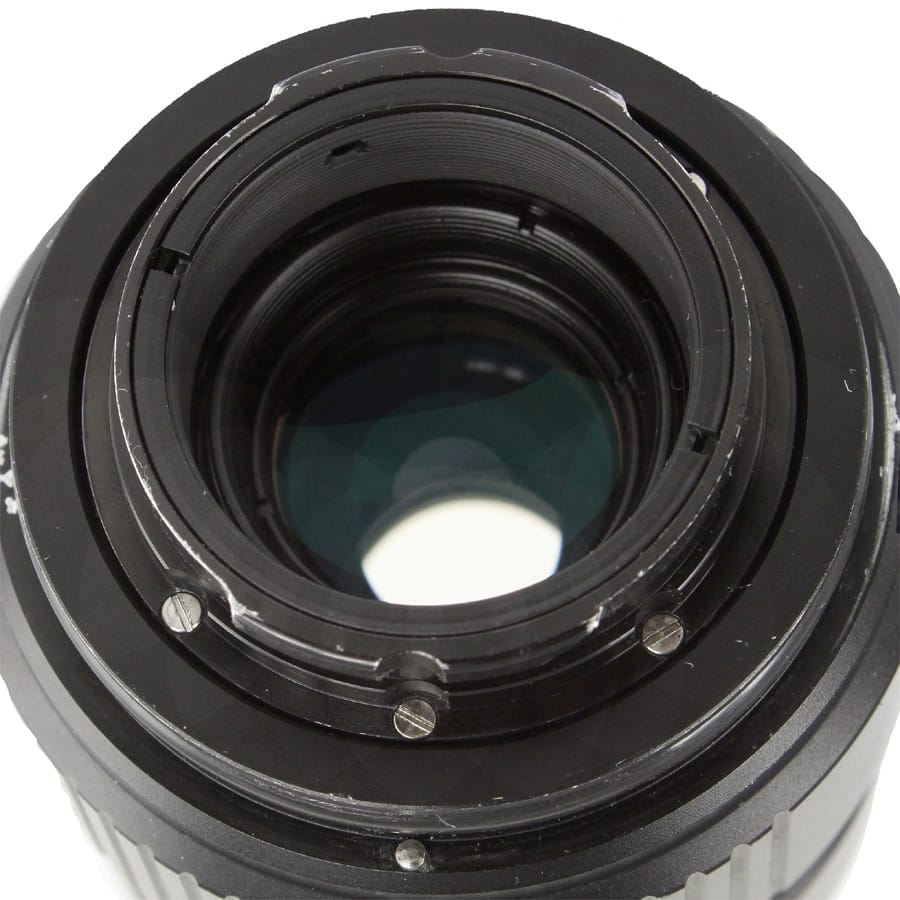
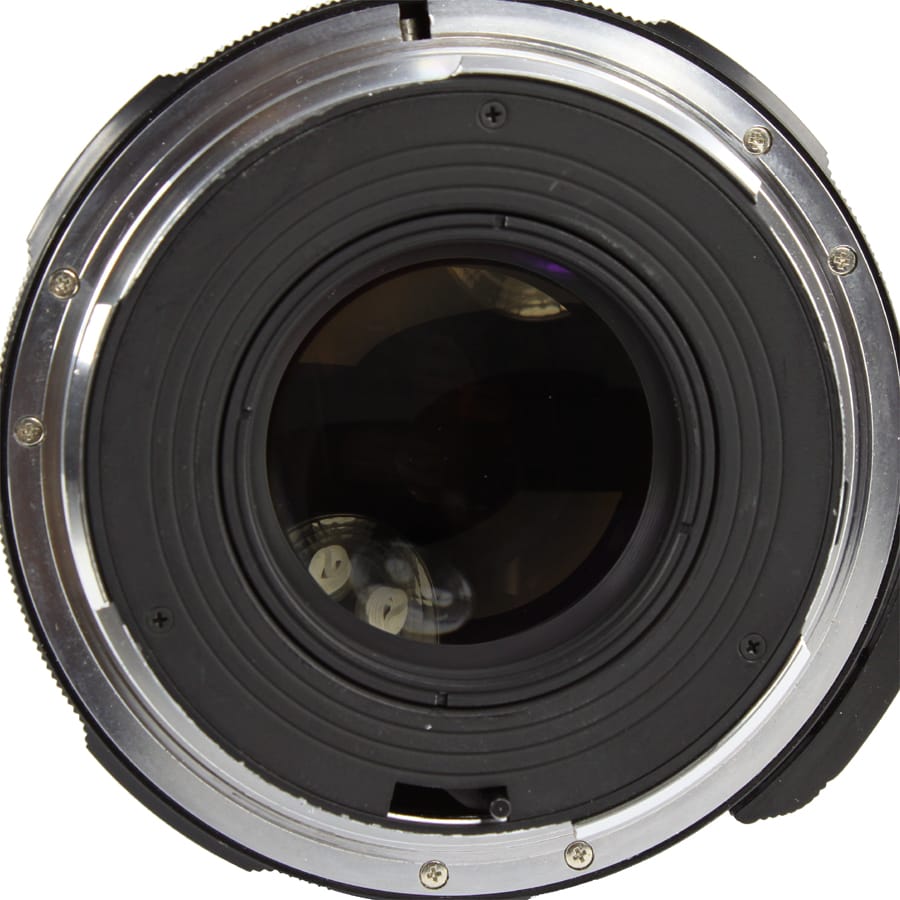
| Nikon F (Non-AI), MF 35mm |
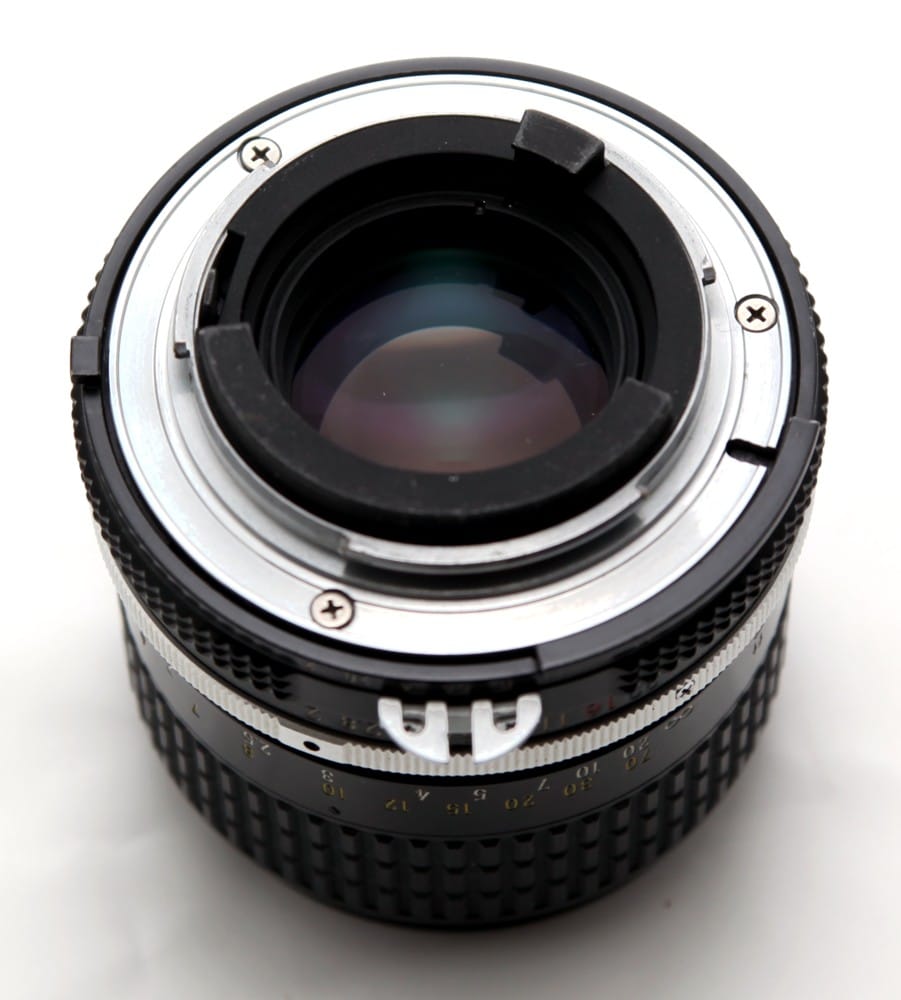 |
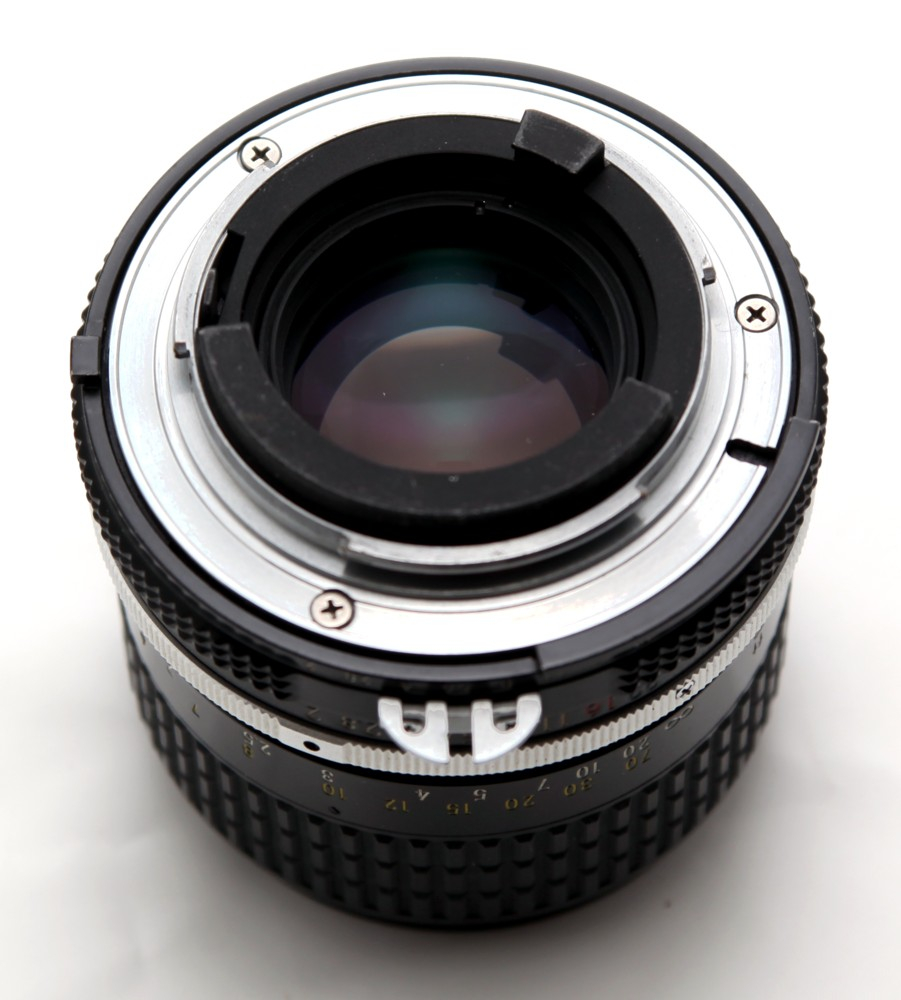
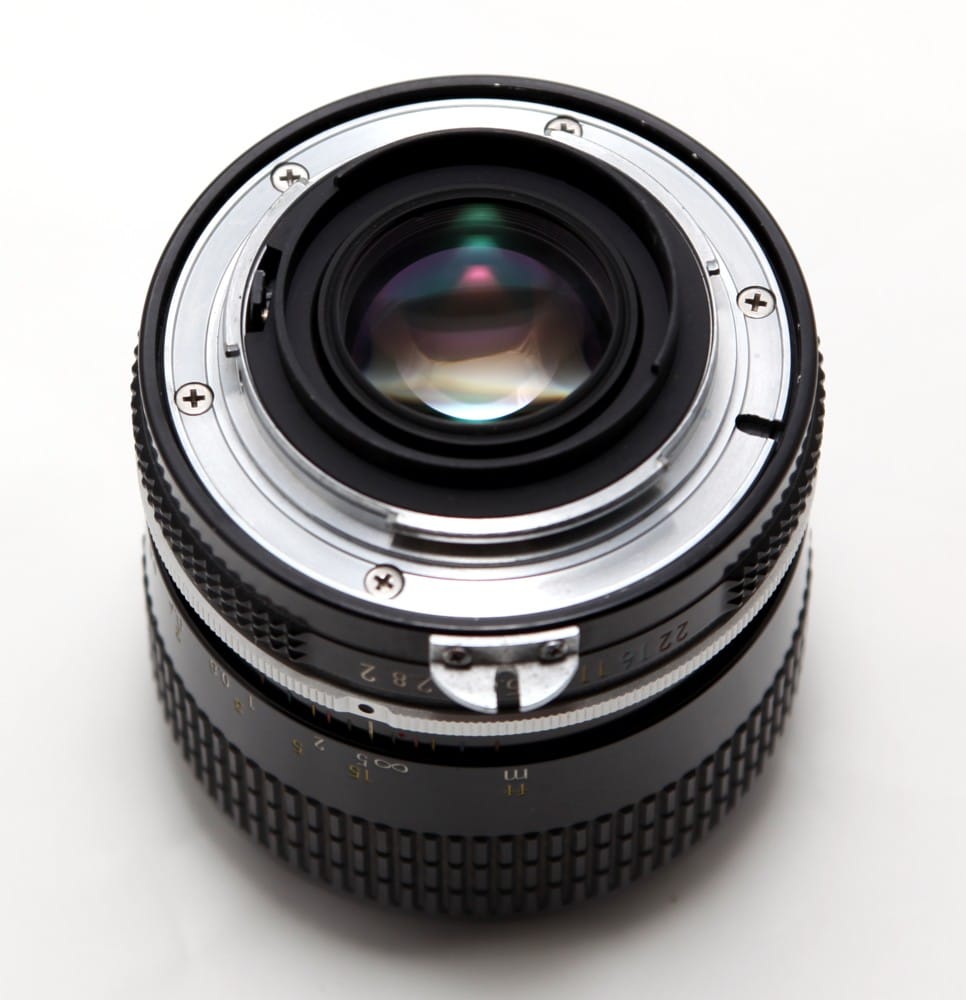
| Nikon F (AI), MF 35mm |
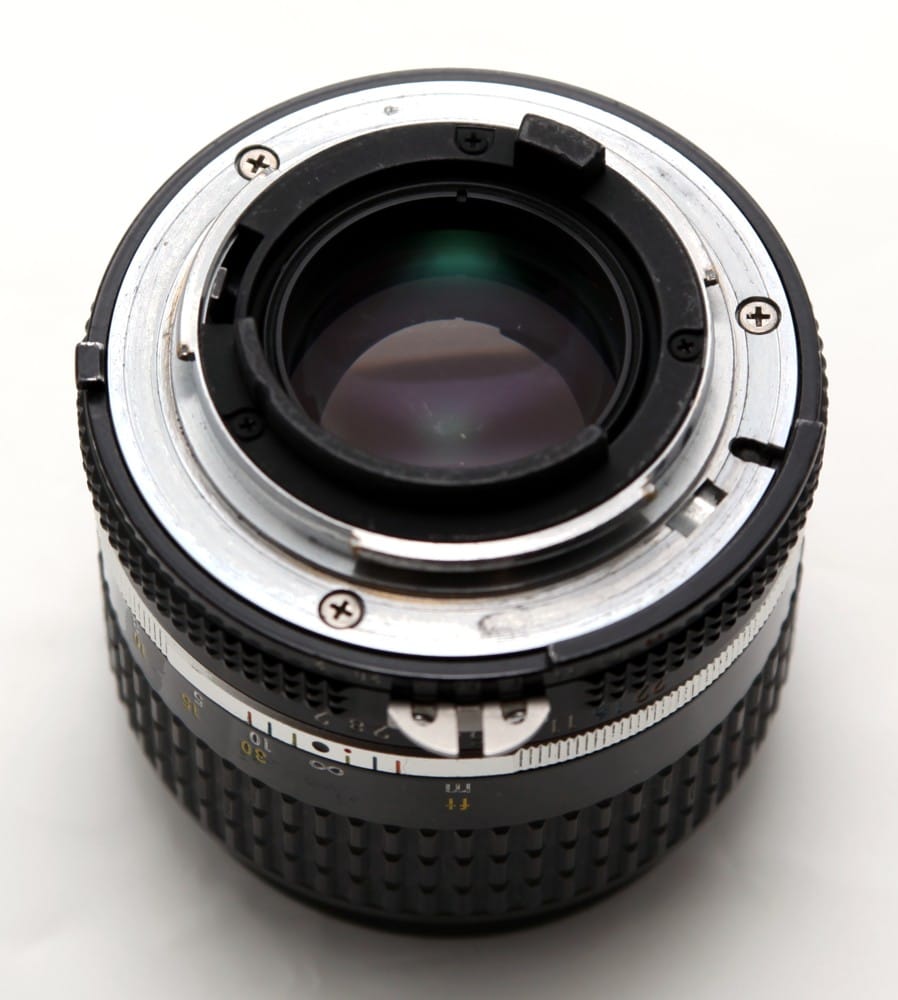 |
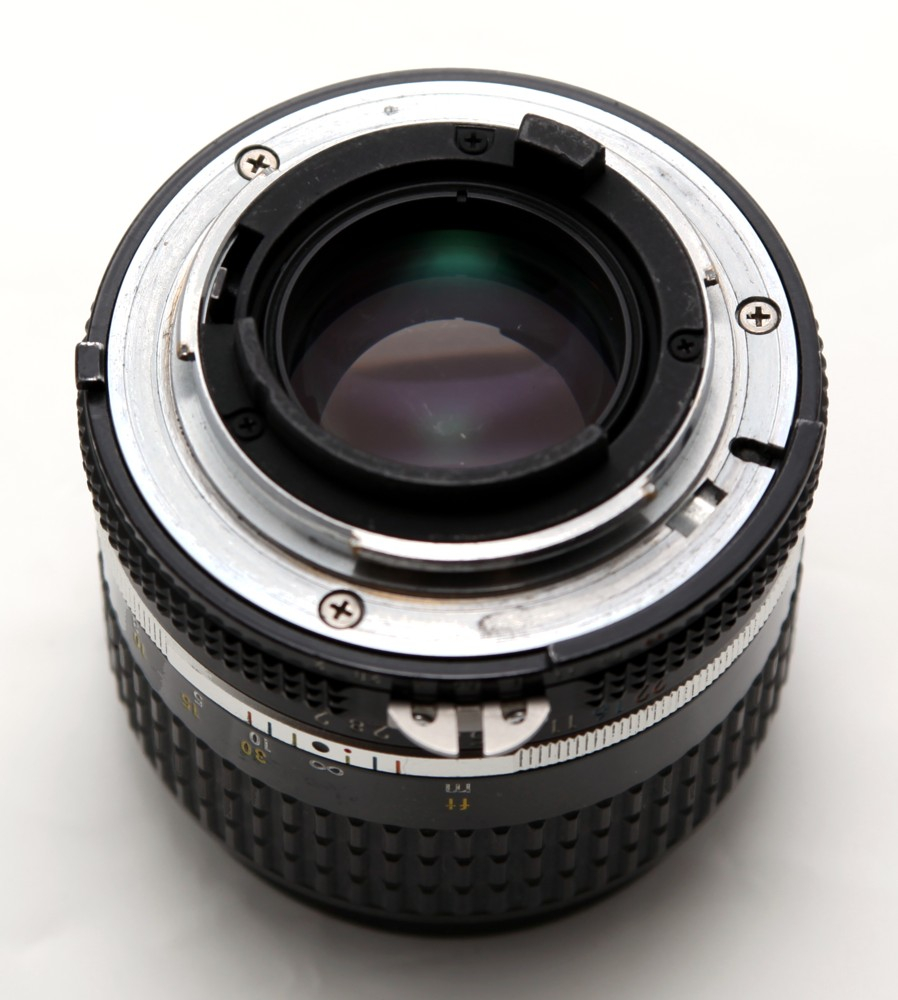
| Nikon F (AI-S), MF 35mm |
 |
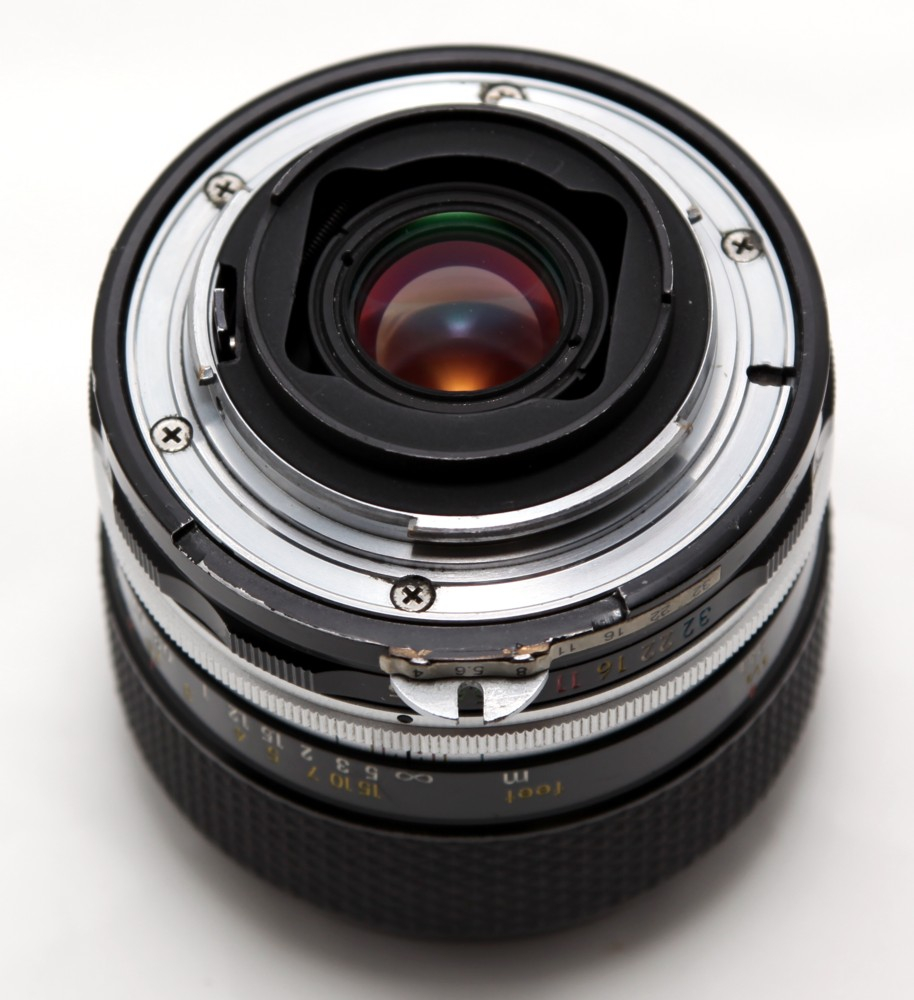
| Nikon F (AI’d), MF 35mm |
 |
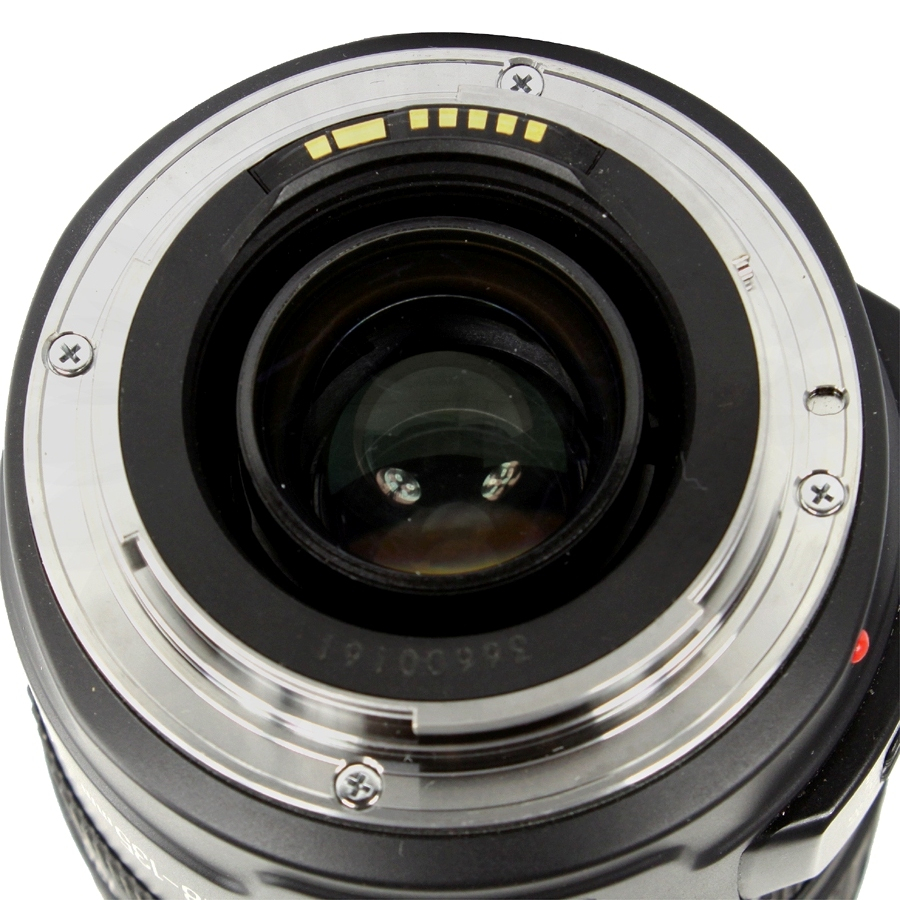
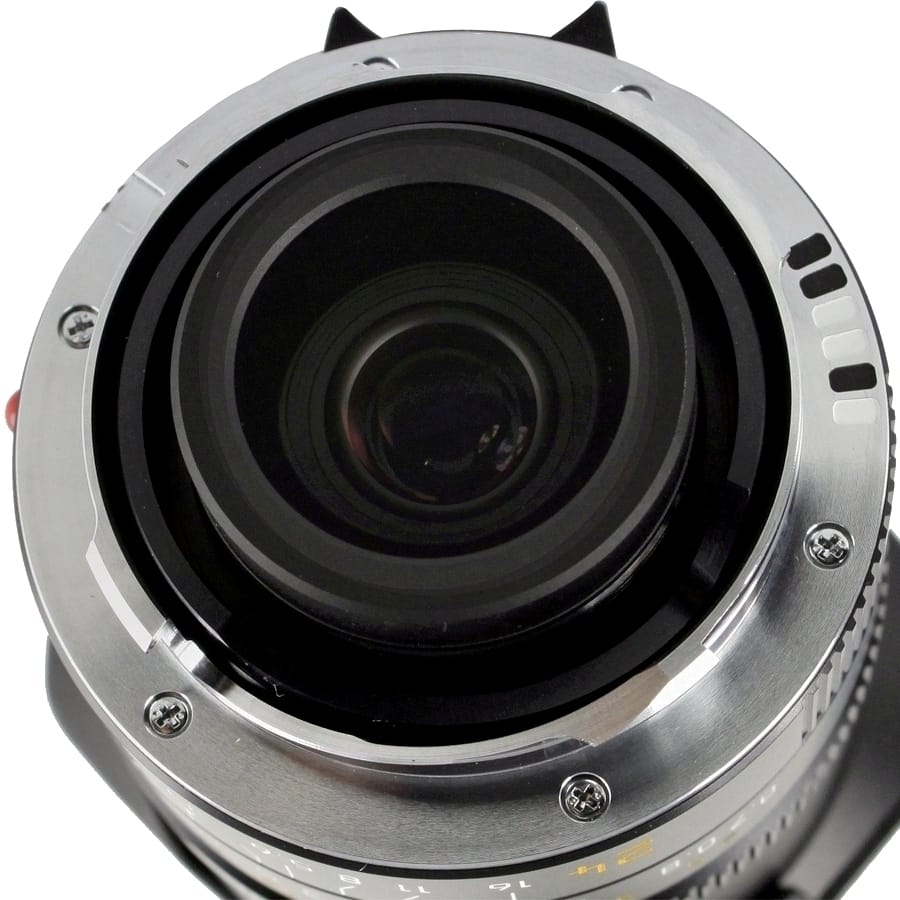
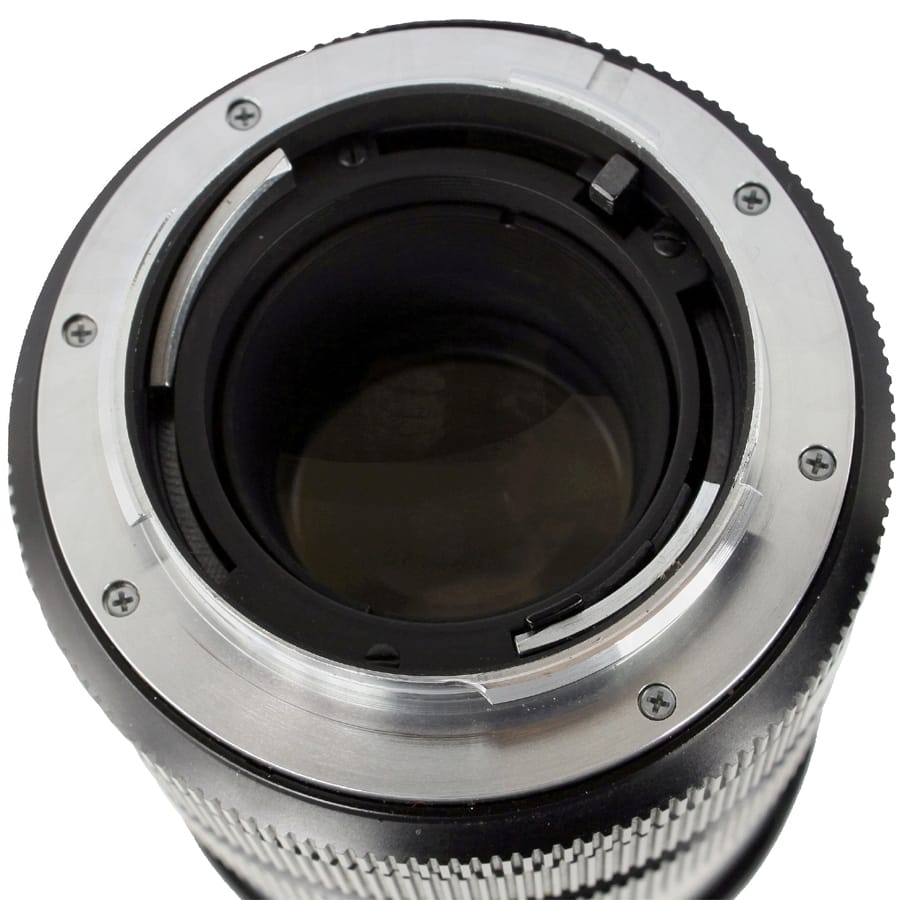
| Nikon Auto-Focus, AF 35mm |
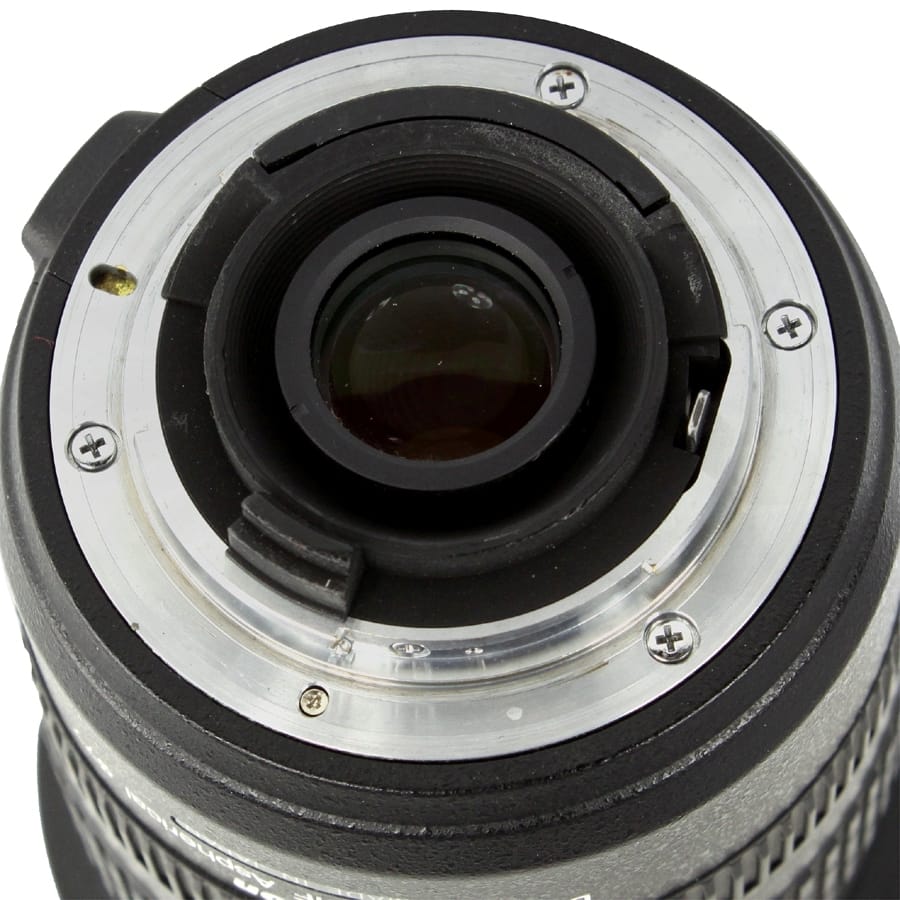 |
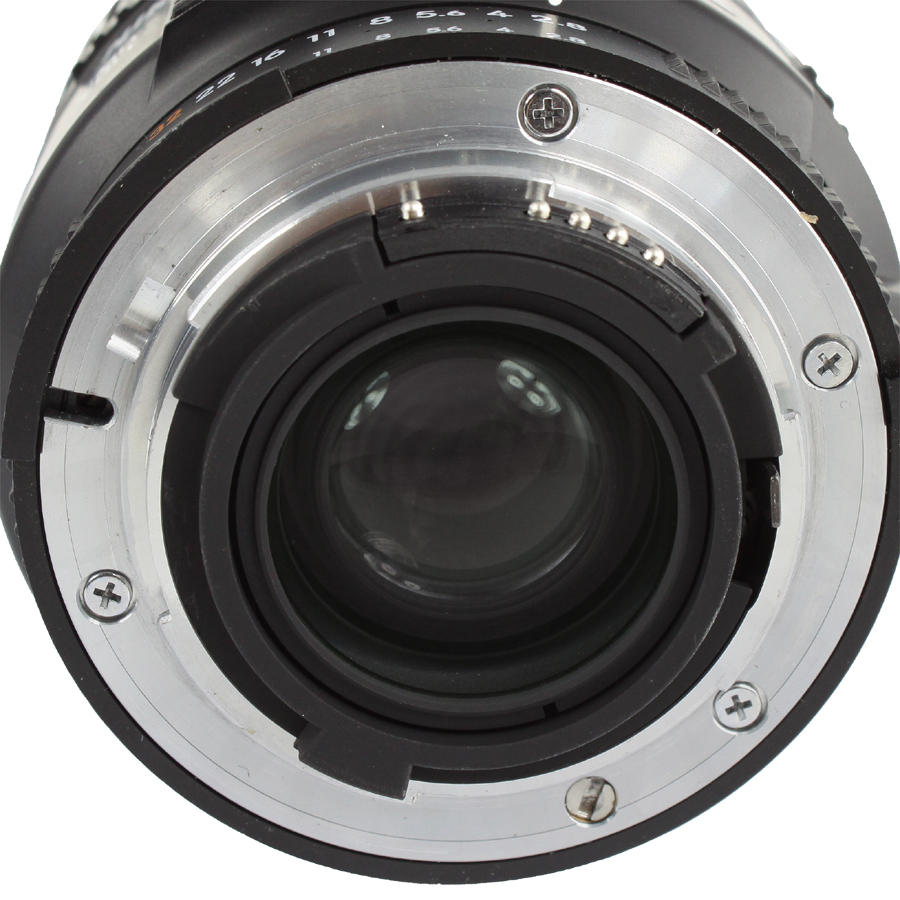
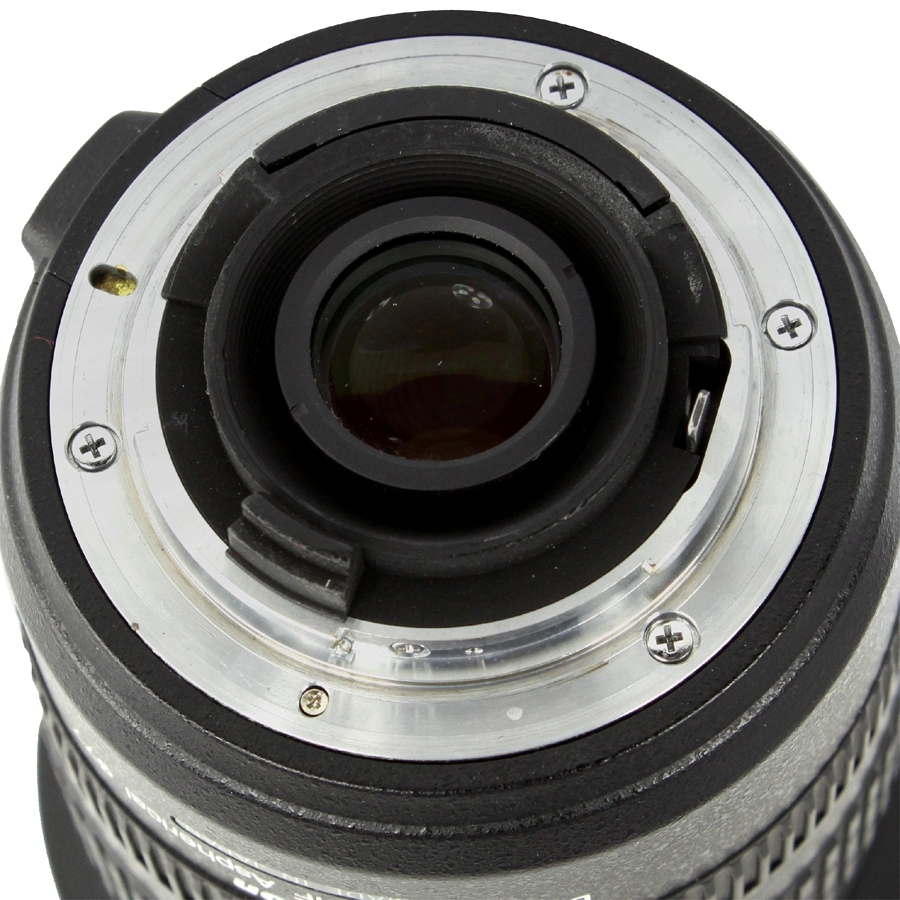
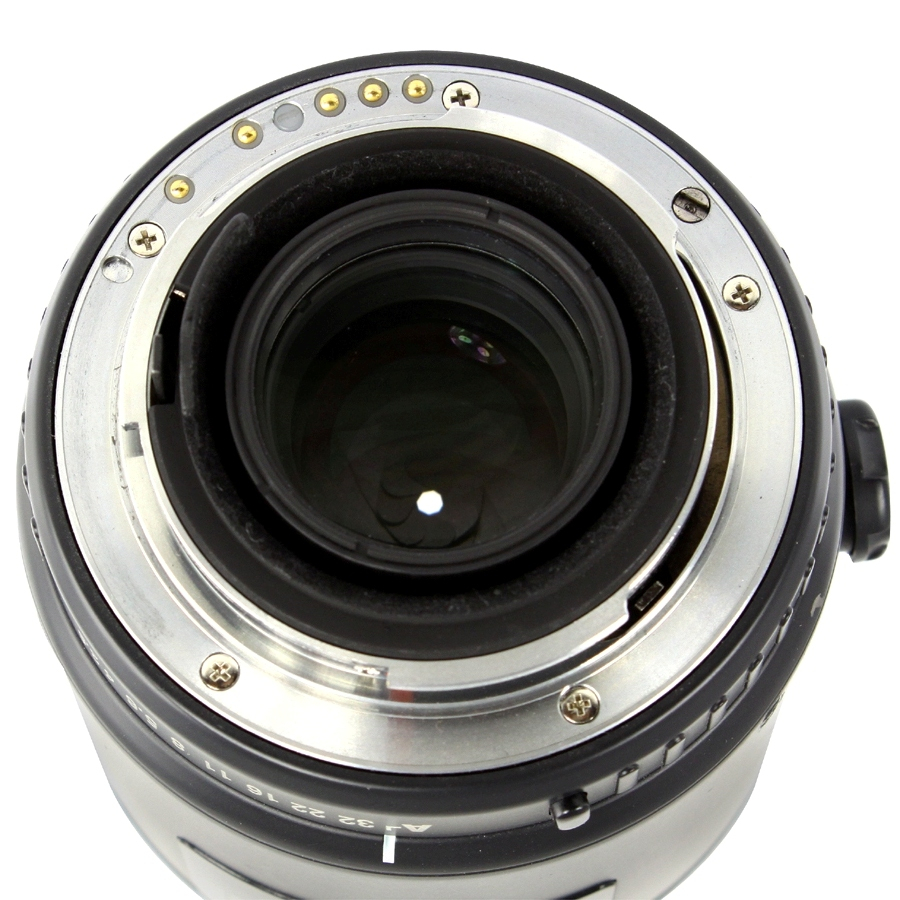
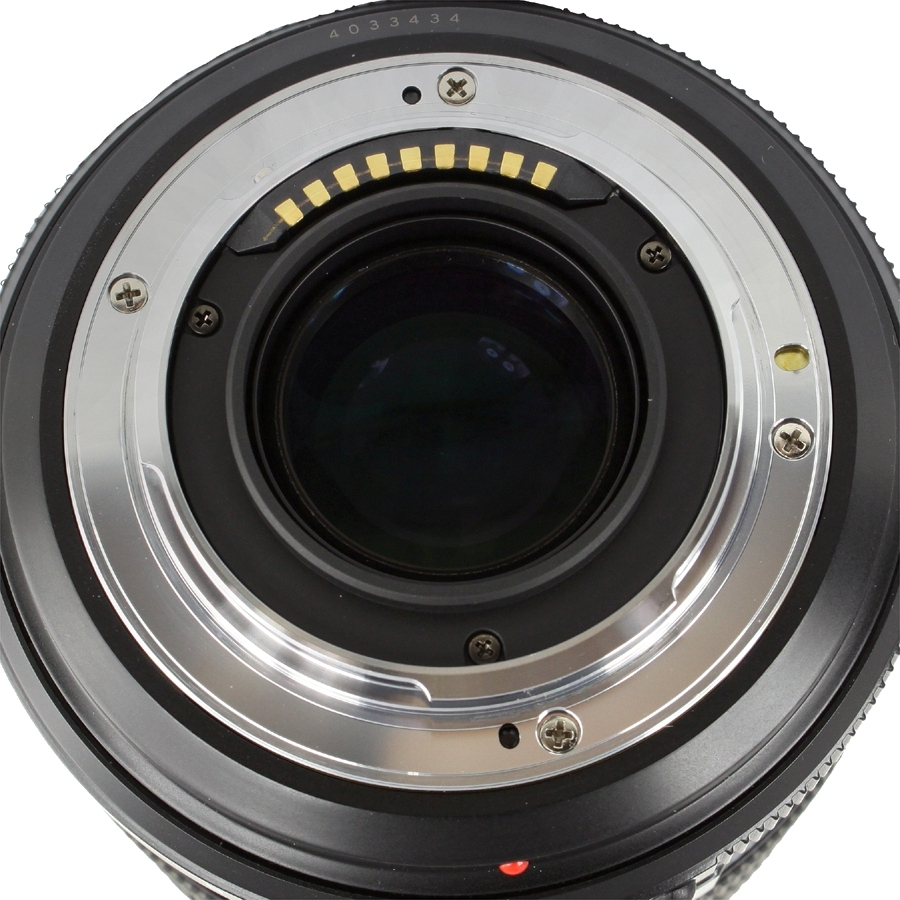
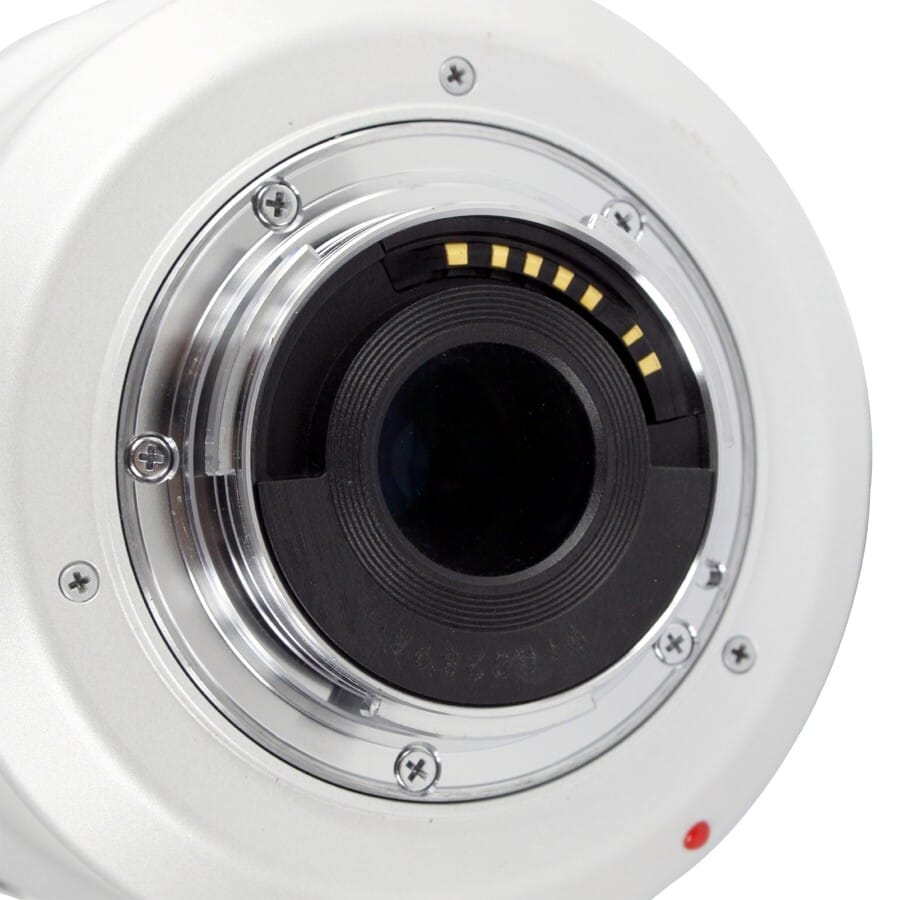
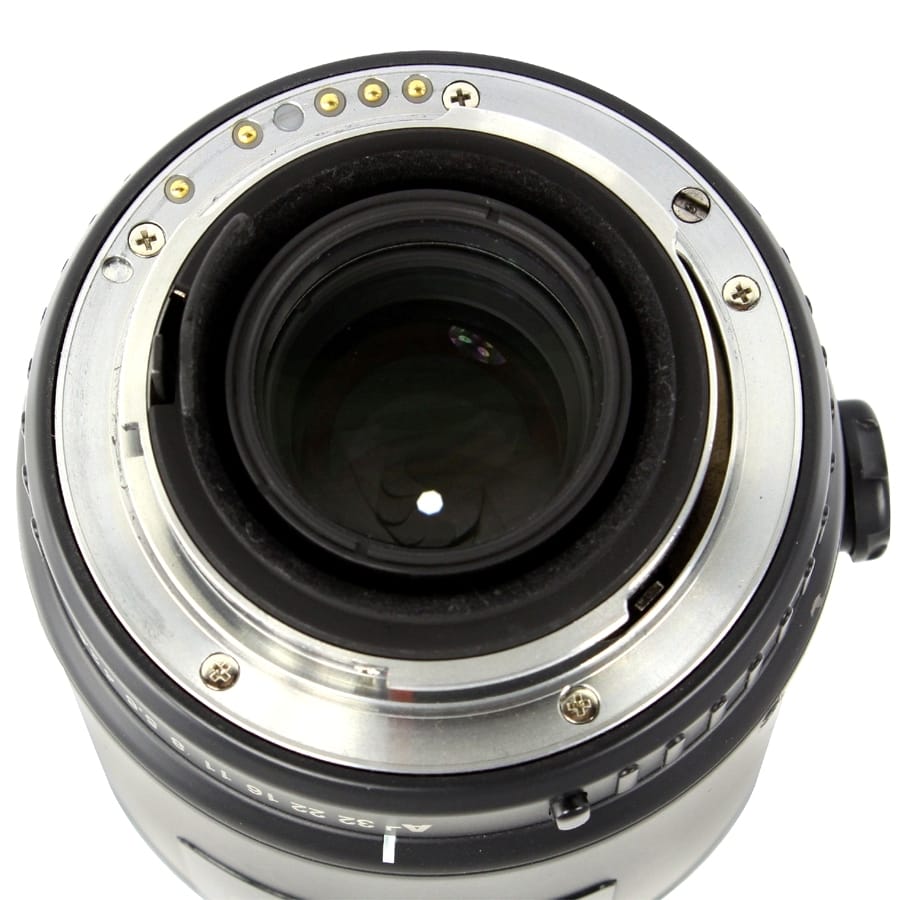
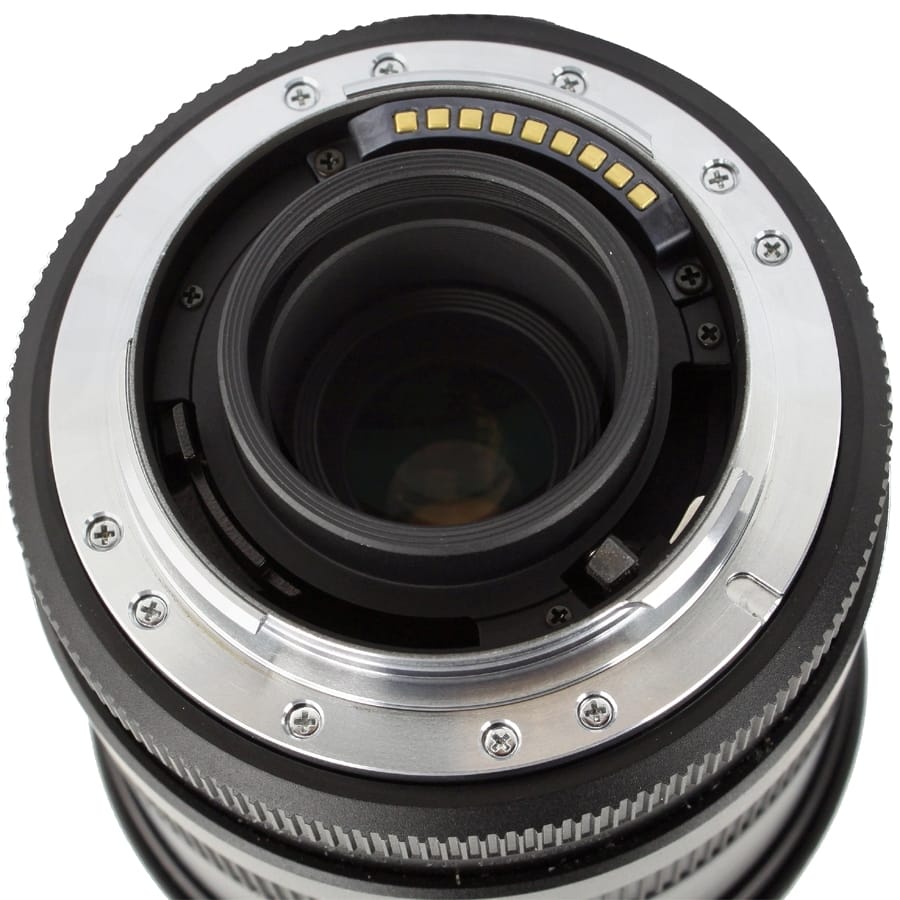
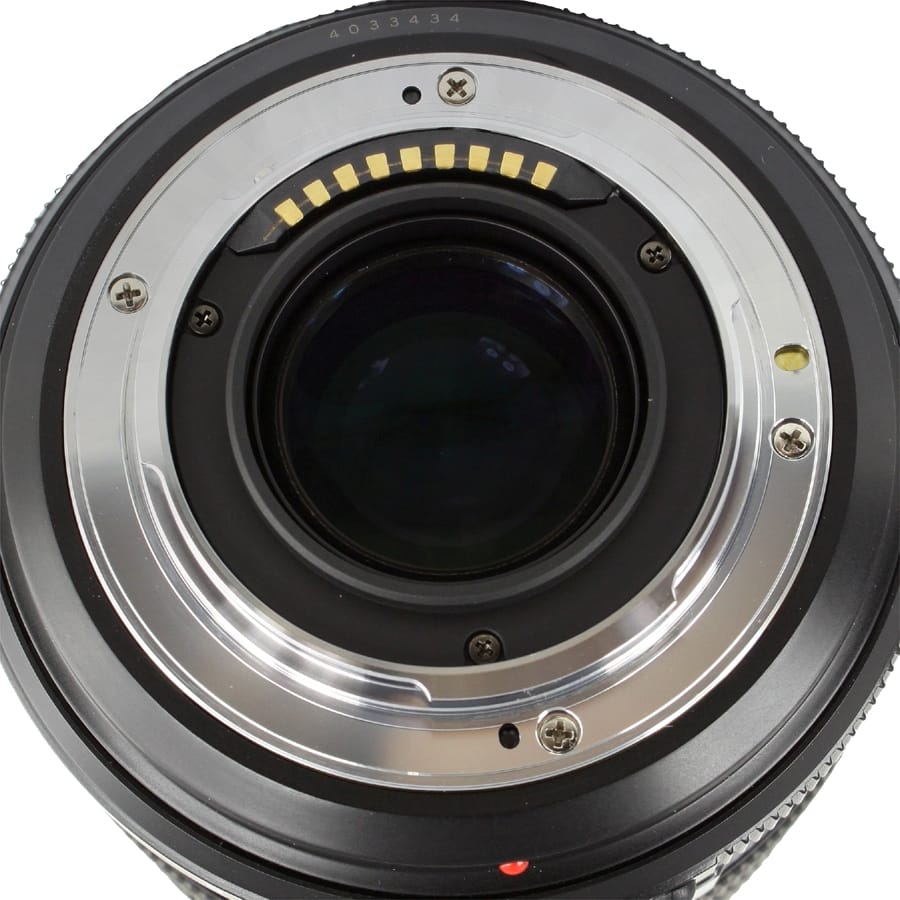
| Nikon Digital (AF-S), AF D-SLR |
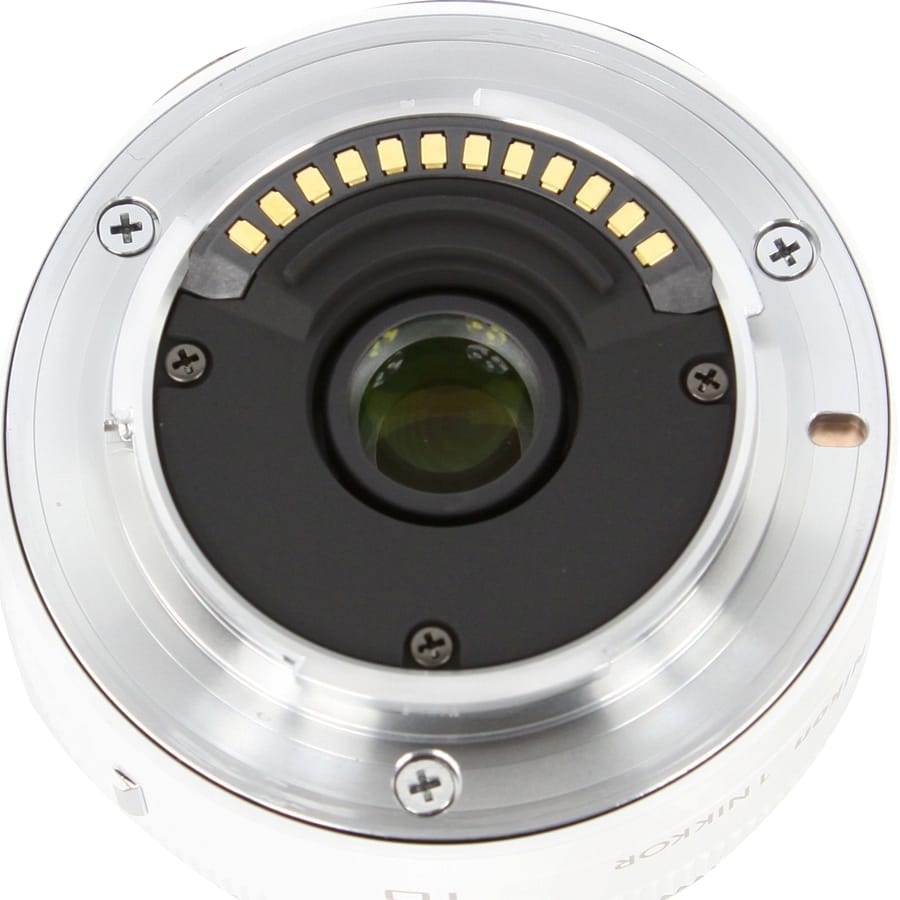 |
| Nikon 1 (new digital mirrorless), AF D-SLR |
 |
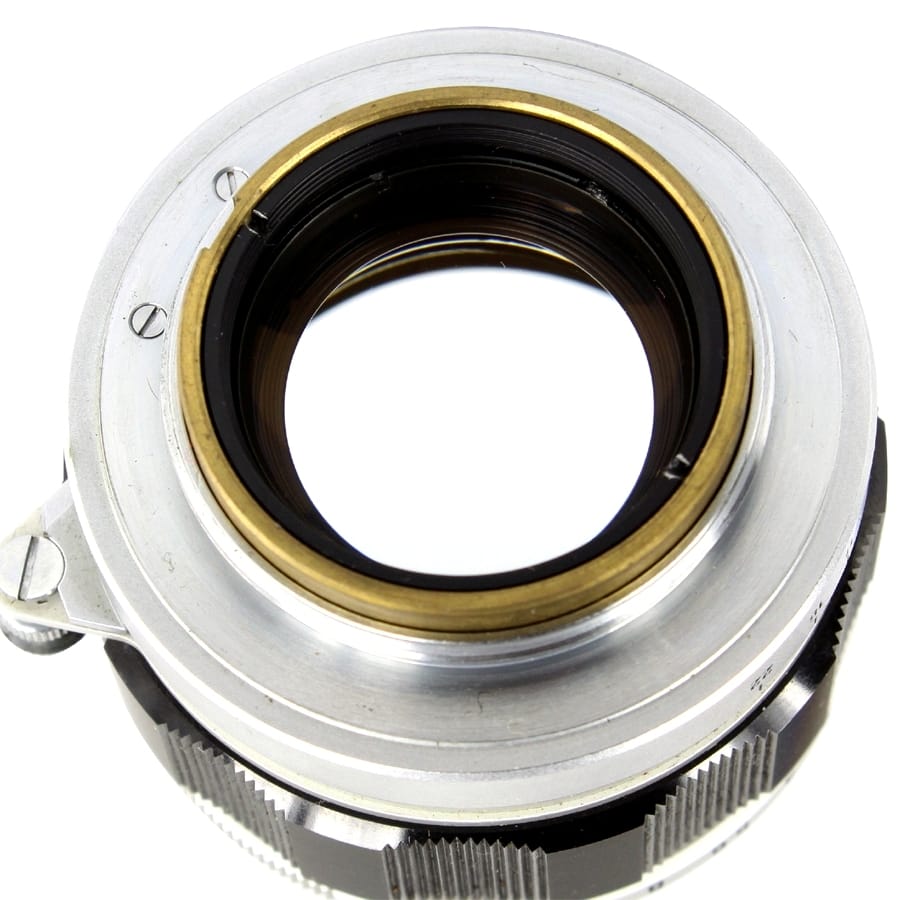
| Nikon Rangefinder, MF 35mm |
 |
| Nikonos (underwater), MF 35mm |
|
|
 |
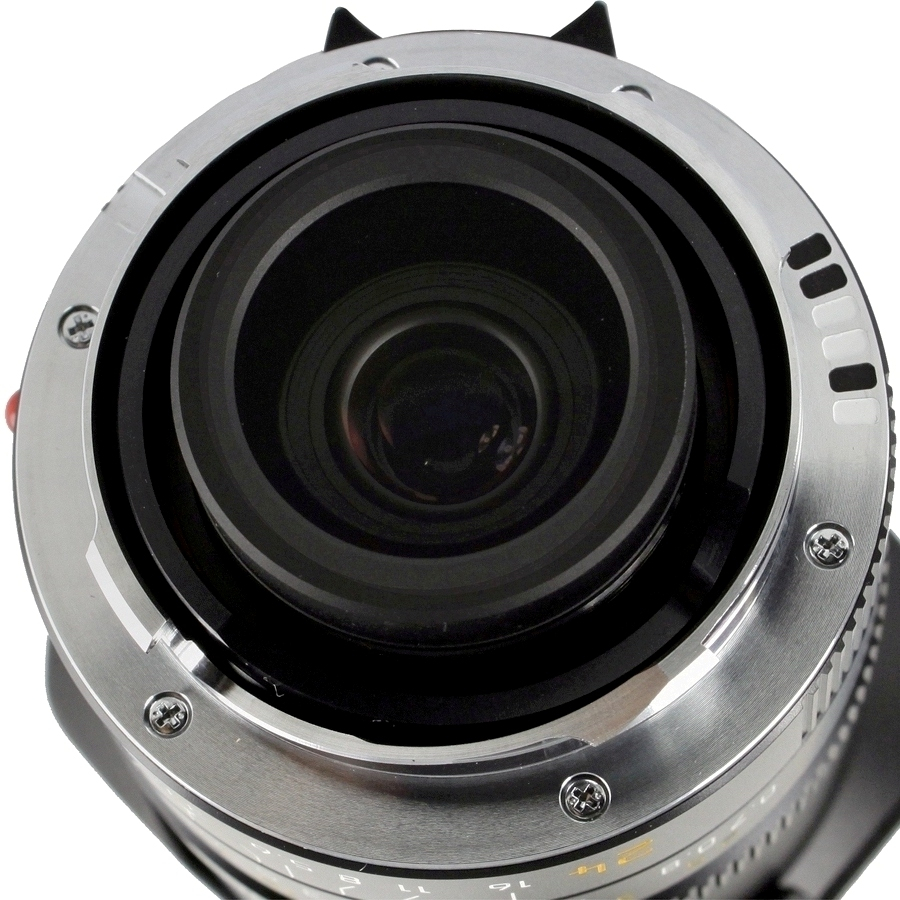
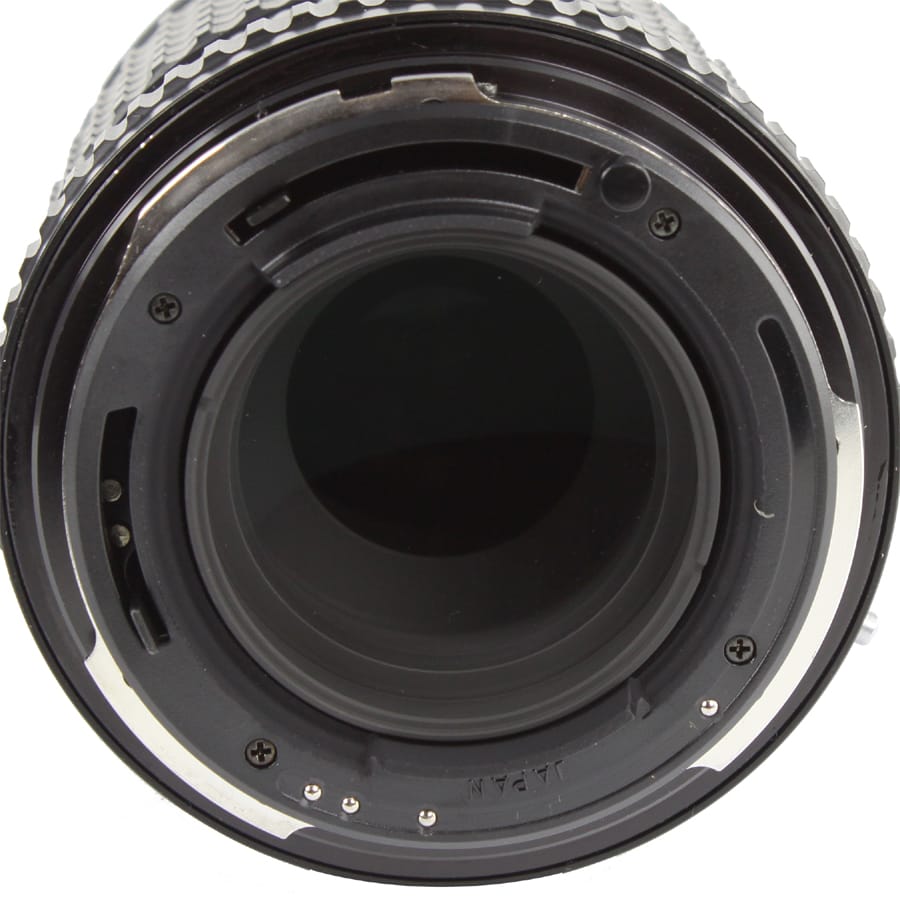
| Pentax K, MF 35mm |
 |
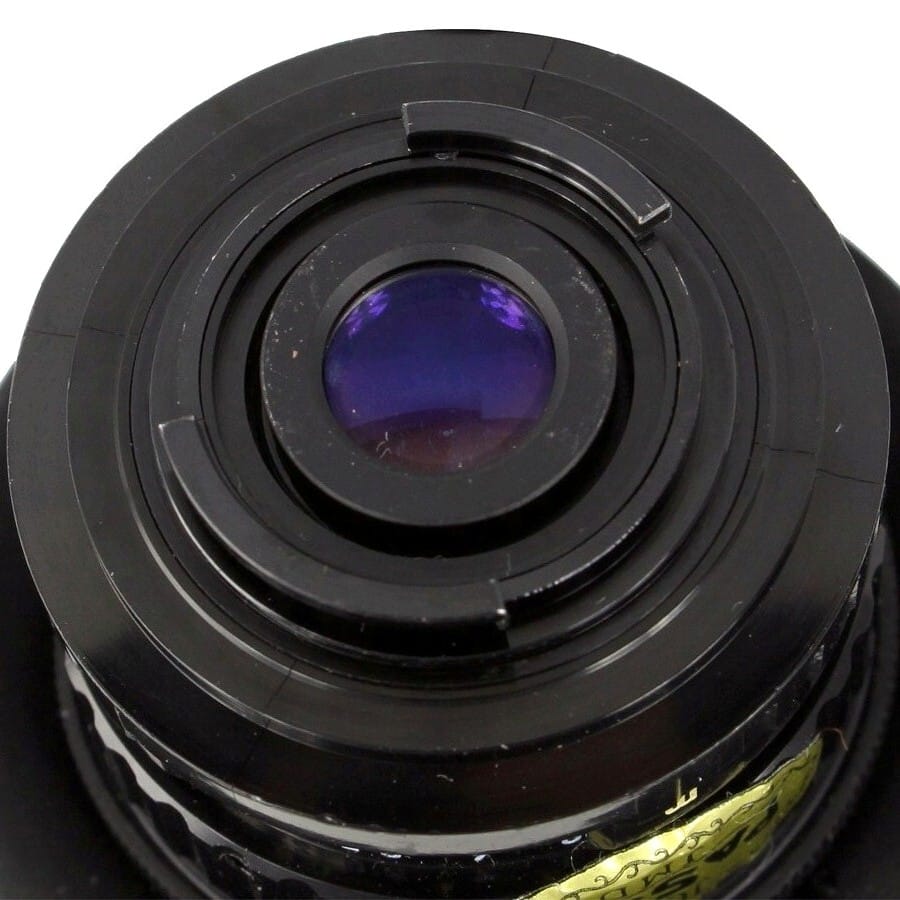
| Pentax Screw Mount, MF 35mm |
 |
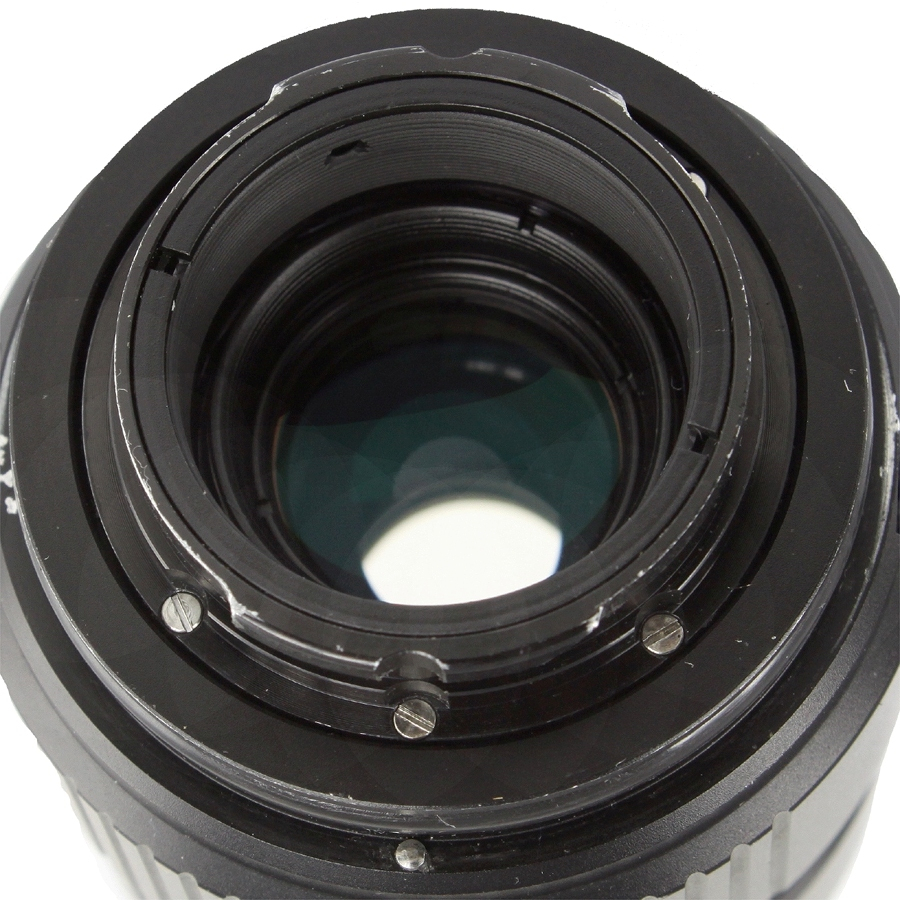
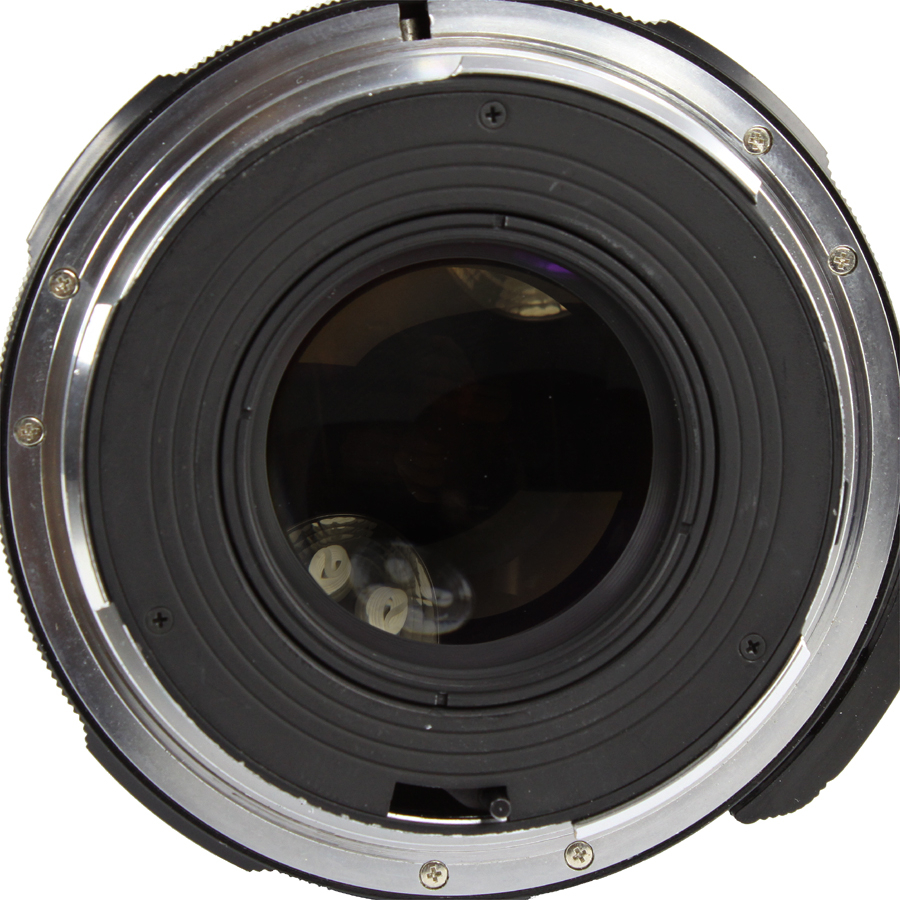
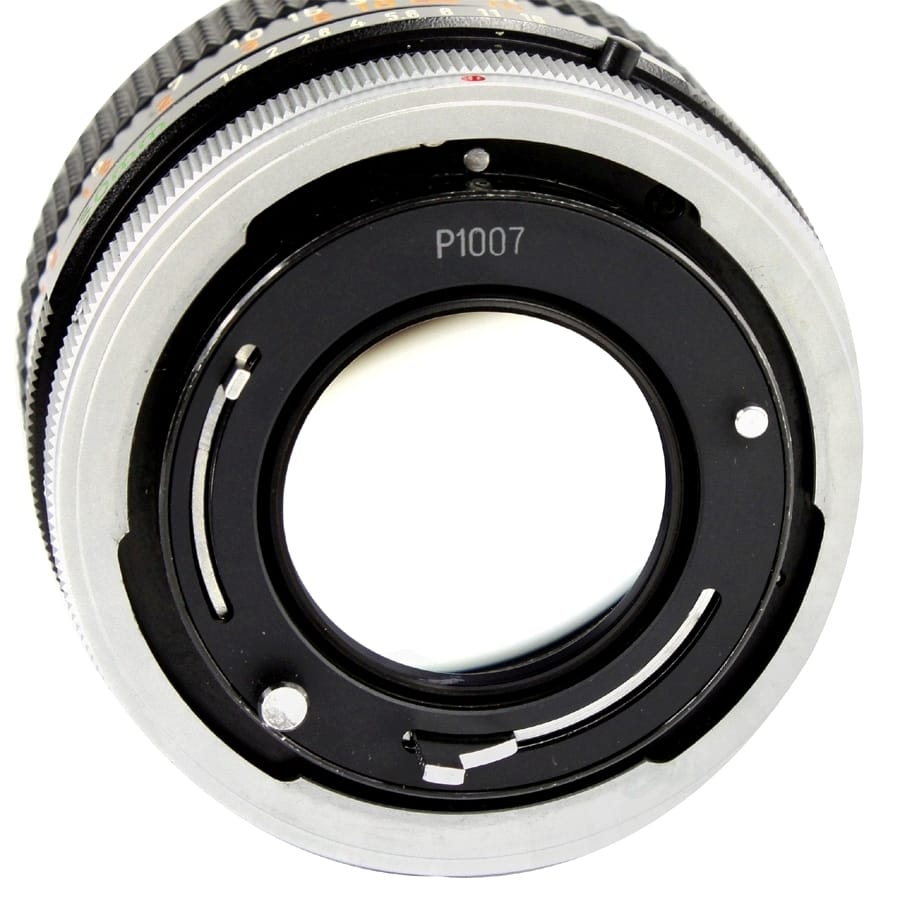
| Pentax Auto-Focus K, AF 35mm |
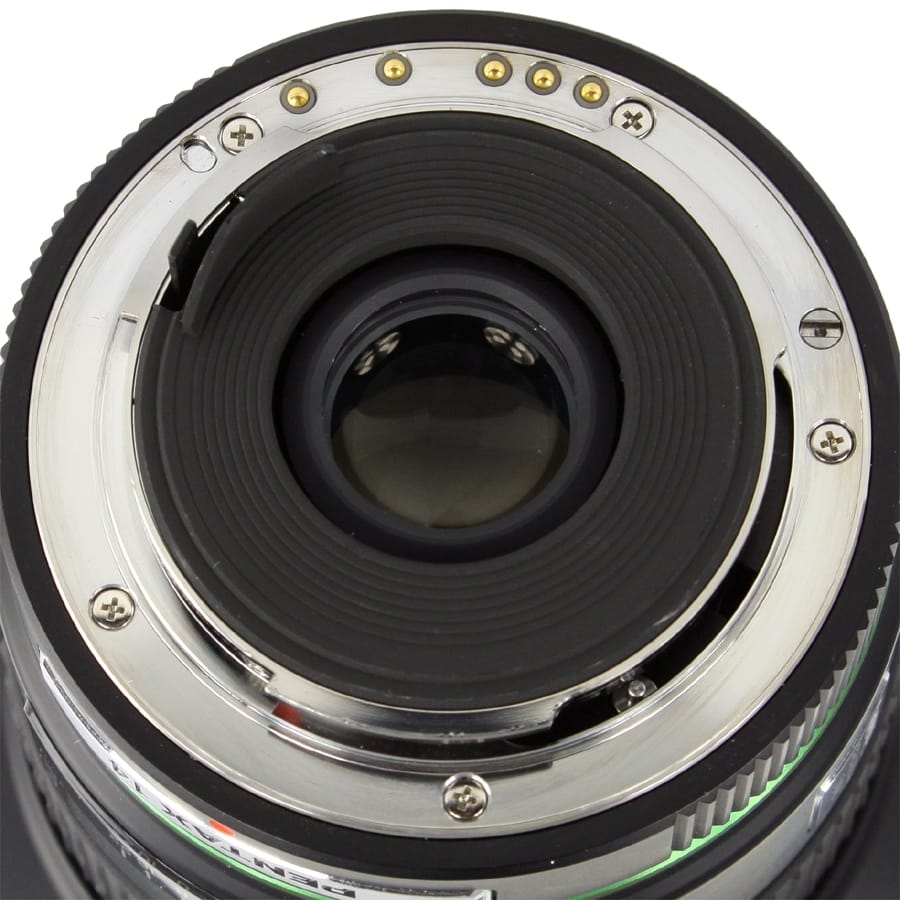 |
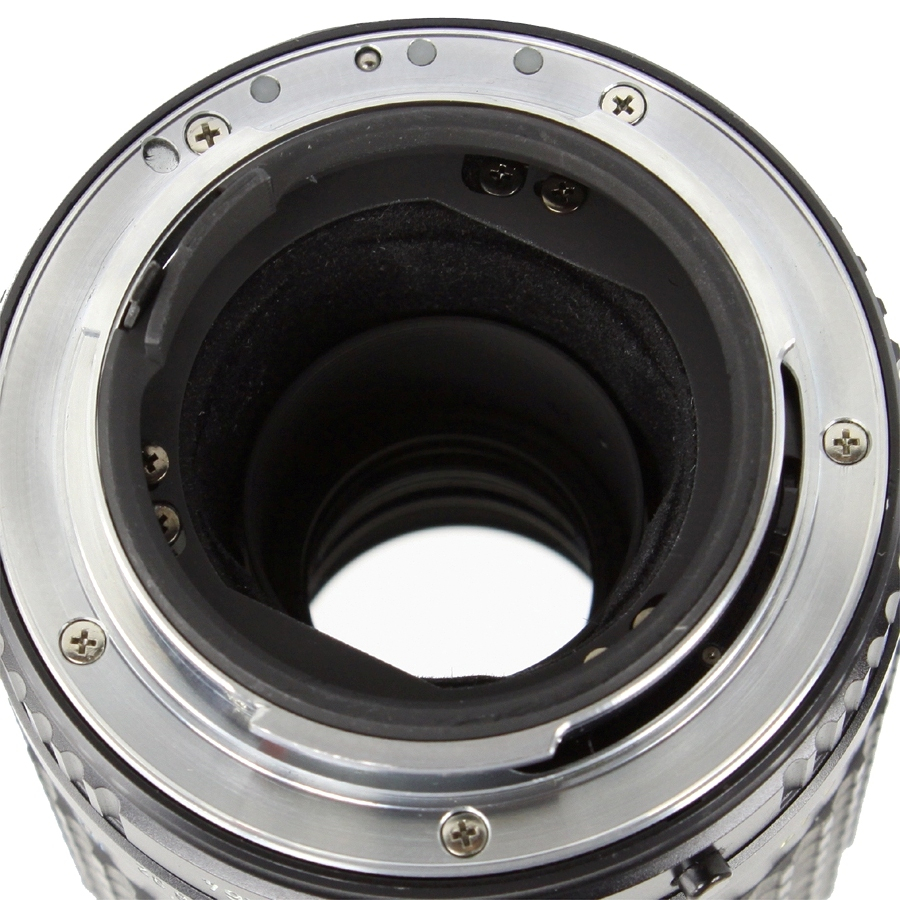
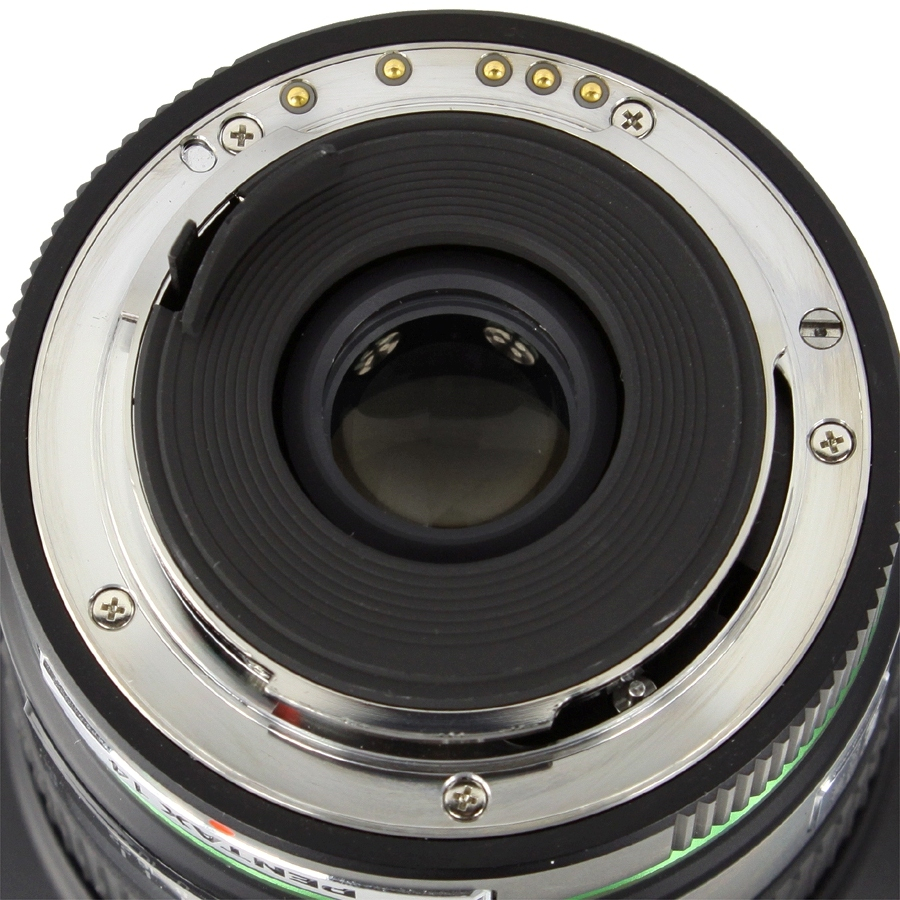
| Pentax Digital, AF D-SLR |
 |
| Pentax 67, MF Medium Format |
 |
| Pentax 645, MF Medium Format |
 |
| Pentax 110, MF Subminiature |
 |
| Leica M: ROM, MF 35mm |
 |
| Leica S (screw mount), MF 35mm |
 |
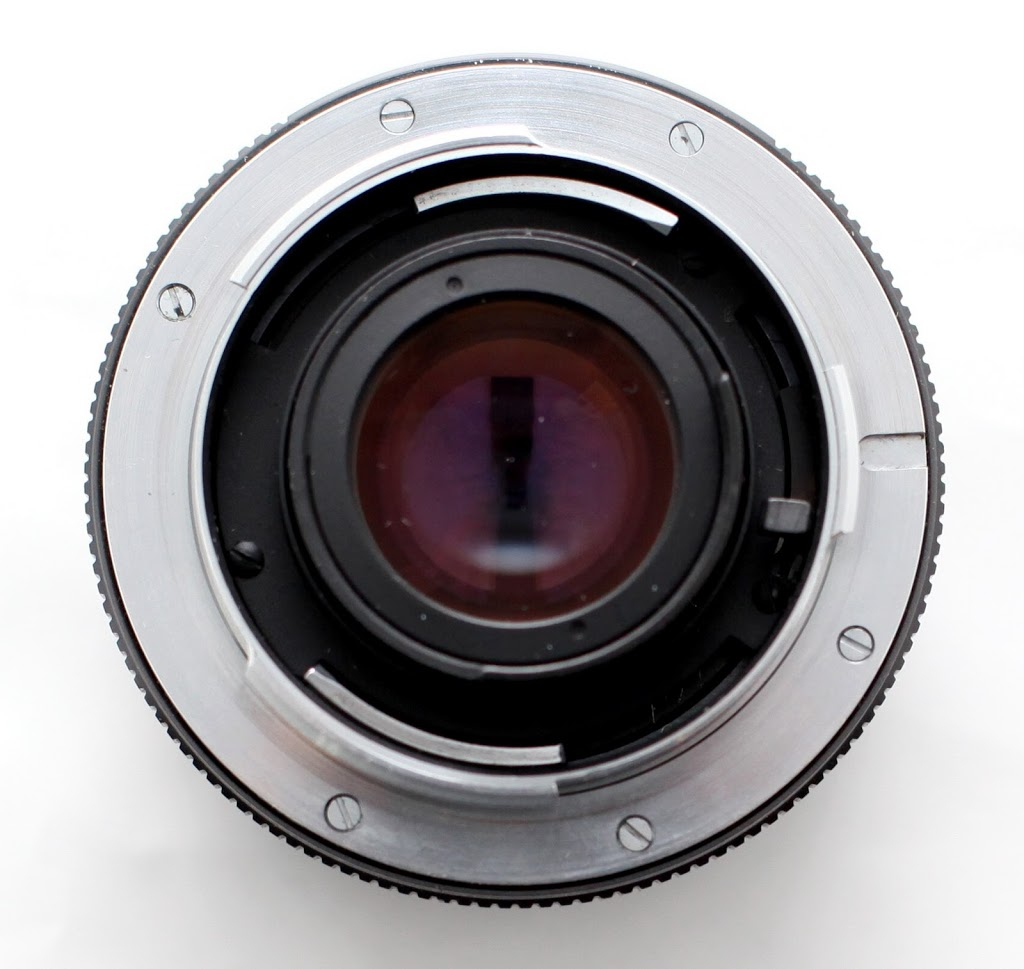
| Leica R: 2-cam, MF 35mm |
 |
| Leica R: 3-cam, MF 35mm |
 |
| Leica R: 3rd-cam/ R-cam, MF 35mm |
 |
| Leica R: ROM (3rd-cam), MF 35mm |
 |
| Leica Visoflex, MF 35mm |
 |
| Leica Digital (M), MF D-Rangefinder |
More Information-
Abbreviations used above:
AF = Auto focus
MF = Manual focus
BL = Breech Lock
D-SLR = Digital Single Lens Reflex
Related articles:
* Nikon F Mount Lenses- Non-AI, AI, AI-S, and AI’d
* Digital Lens Compatibility Part 1, Part 2, Part 3
—
Lens Mount Guide:
Part 2
Part 3